

I wanted to sew myself a Tiered Skirt for a long, long time. Now i finally had time and some motivation. It was a very easy project, perfect for sewing beginners or a little in-between sewing project.
The most important measurment you need is your Waist circumference. This is needed for the Waistband. But let me show you the calculations for this skirt in a – hopefully- simple way. If you have any question – or if something is unclear- please ask or comment.

I choose as fabric a stiff(er) cotton popeline with a width of 135 cm. First i planned to calculate the width of the tiers with the help of my hip measurments, but soon decided it would be better, just to take advantage of the Fabrics´ Width. (lesser waste). You could use a fabric width a different width – 90 cm, 140cm, 145 cm – but you need to make sure, that your hips have plenty of room. With 90 cm you need more rectangles or have less skirt volume, with 140+ cm you will need less rectangles (but maybe more waste) and/or more skirt volume.
You can also use different kinds of fabrics. Lighter fabrics like Rayon, Silk or Chiffon result in more flowy Skirts with less volume. Stiffer or thicker Fabrics (although i wouldn´t use very heavy or thick fabrics, because you won´t be able to gather them nicely anymore) like Linen, Gabardine, Cotton Satin (or even light Cool Wool) result in Skirt with more Volume.
I also used a cotton popeline, because you don´t need to cut all stripes/ rectangles with a scissor. You can easily tear them.

After preparing the stripes, i started with the Waistband. For Waistbands i normally use a Waist-Shaper Tape from Vliesline (Link here – I´m sadly not sponsored, but i love this stuff). But you also can use heavy Interfacing – normally used for collars and cuffs – but without the seam allowance.


Leave the Waistband as it is. Clipping the corners and reducing the seam allowance will come later.
Prepare the stripes of the tiers. This means sew stripe on strip (short edges) so you get one big strip for every tier.
After that raise the stitch length of your sewing machine to a 4 or 5 ( i normally use a 4, which isn´t the largest stitch length, but i think this is just personal preference). The standard method of gathering is to sew two parallel lines on the upper edge (about 0,5 cm and 1 cm away from the edge), leaving a long piece of thread hanging loose at all 4 ends and than pull at the threads.
I kinda did the same, but i was a bit lazy and just sewed one line. Advantage: you don´t need that much thread. Disadvantage: You really need to be careful while gathering the fabric. It can happen that the thread break or make a knot. But i managed it.


After sewing every tier together, remove the gathering line. This is very important, or else you won´t be able to properly serge your seam allowances! After serging, lay your seam allowance upwards (into the direction of the waist) and stitch it down (from the right side).


If you want, you can press the gathers softly, but that is not necessary.
Now it is time to close the back seam. Leave about 22 cm for the zipper open. I used an invisible zipper/ seam zipper.


Install the zipper and make sure that the ends are at the same level.
Cut away half of the seam allowance of the short edges of the waistband. Iron the seam allowances of the long edges into the waistband, this helps with attaching it to the skirt. Pin the first tier to the waistband (waistband facing the left side/inside of the skirt) at the beginning, the middle and the end, starting and ending at the Center Back (picture below). Now gather the first tier and sew the waistband on, on one side. Remove the gathering line.


Lay the seam allowance into the waistband and fold the other side of the waistband over it. Pin and sew the waistband down.


Serge the hem, fold it over and sew it down, either by hand or with the sewing machine. Mark the placement of the button hole in the middle of the waistband, beginning at the Center Back (Direction to the side seam). You can also use two smaller buttons. Sew on the button(s).


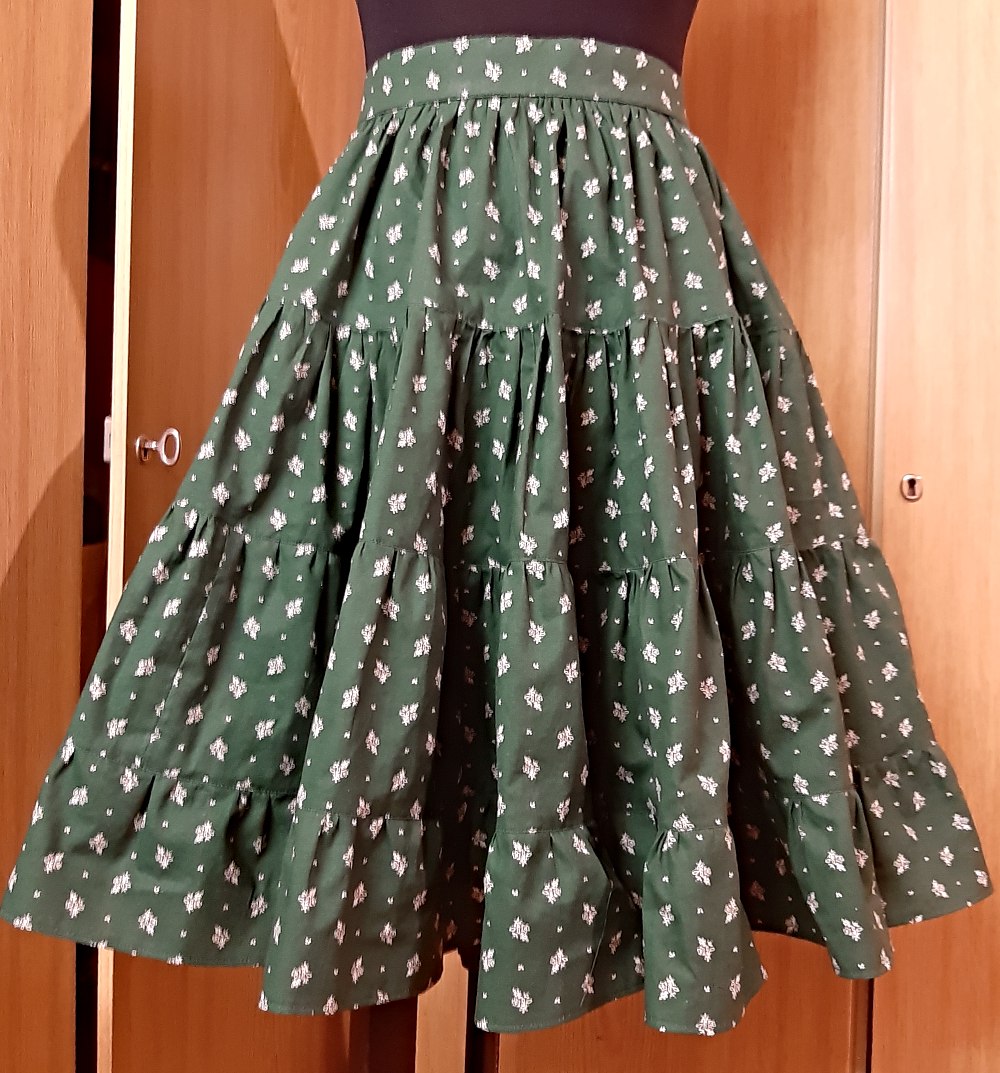
And the skirt is finished! A fun and easy project. I can´t wait to wear the skirt, but where i live it is still much to cold for wearing summer clothes.
As mentioned above, if you have any questions or if something is unclear, please send me an e-mail or comment here!
Thanks for reading…till sunday!
