

Again i have been dipping my toes into Hatmaking/ Millinery. This time trying to make a Fascinator (Spoiler: Sucessfully!). I did some research on youtube (there are many hatmaking and millinery videos…just enter some keywords), pinterest and in general on google. I found out, that for a beginner it is not necessary to have a Block for blocking hats (mostly made out of wood), and if you like hatmaking you can make one yourself out of styropor.
You can use bowls, plates or other sturdy surfaces to “block” your hat. Most tutorials suggest that you use buckram (or any other sturdy non-fusible interfacing or very stiff but not too heavy linen – in german we would call it “Schrabackeneinlage” or “Steifleinen”), and a water soluble stiffener. You can use nearly every fabric you want – at least that is what i found out till now. Stiffeners can also be made from things you have at home like corn starch or textil glue…there are some differences in looks and end results, but that is another topic for future experiments.
I made my own teardrop-shaped Pattern, which you can download below. I used some boiled wool, some wire (the same i used in my past experiments), textil glue mixed with water as stiffener, felt tape for the edge(s), my head form for “blocking”, transparent foil/plastic wrap (?), decorations, hair clips and thread.
I started cutting out the pattern twice from the boiled wool and put some plastic wrap over my head form. I wet the two pattern pieces and mixed the glue with water to get a stiffener. My glue is a standard textil glue, but i think i made it a bit too thin. Make sure to apply the stiffener on the non-visible sides of the boiled wool. Textil glue tends to ligthen the fabric a bit (residues). I placed one wet pattern piece onto the “block” (in my case, my head form), spread half of the stiffener onto it, took the other wet pattern piece in my hand (if you are sensitive use some gloves) and spread the other half of the stiffener onto that. I carefully put the second pattern piece onto the first, pinned it at the edges and let it dry over night.

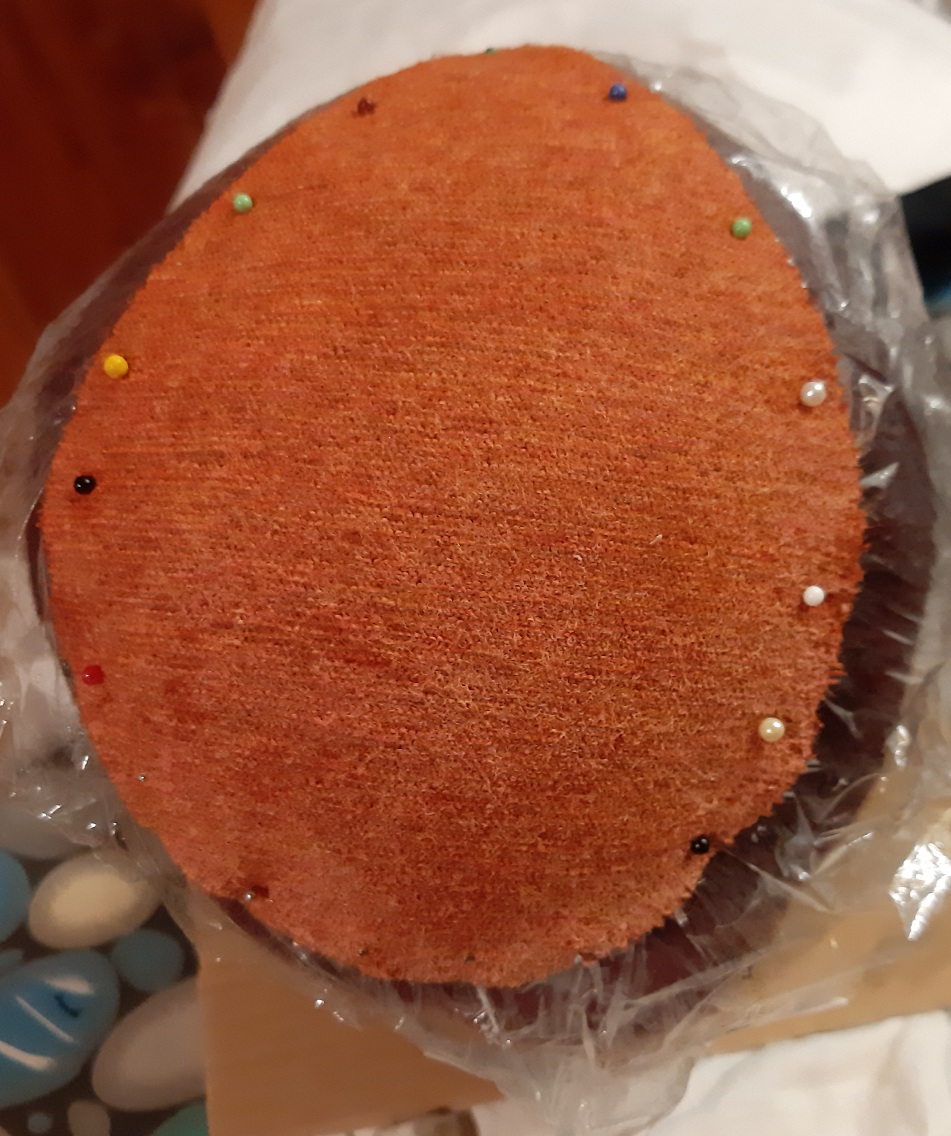
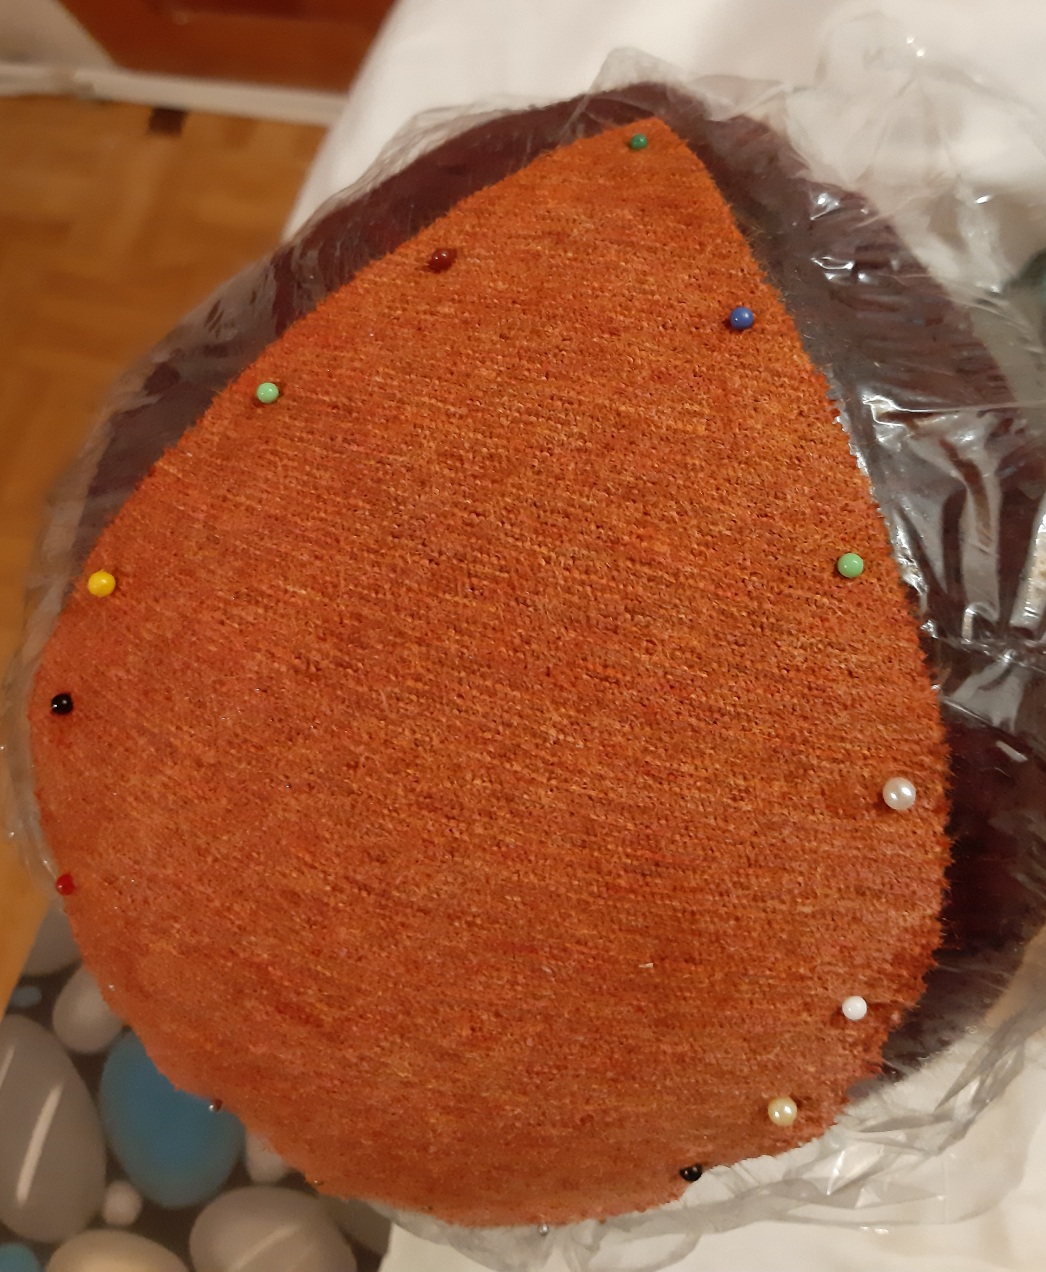
I was really impressed how good the stiffener worked, because before i thought that i should have used some interfacing. The wool is still movable (i don´t know how to describe that better), but it works for a fascinator in that size. If it gets bigger, there should definitely be some interfacing between the two layers.
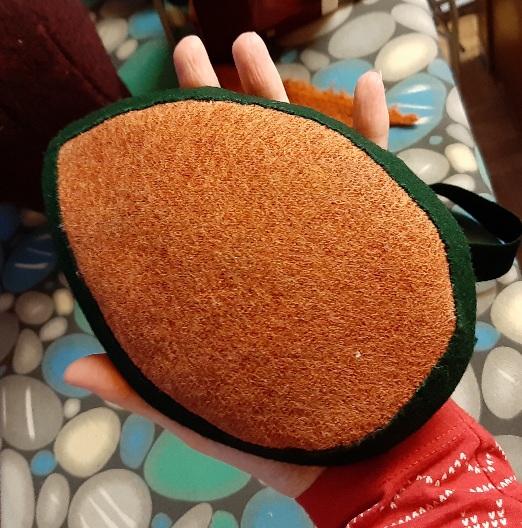
I hand-sewed some wire around the edges with some heavier thread and hand-sewed the green felt tape around it. I didn´t take any pitures, because i wasn´t sure that it would work out. The wire helped with shaping the fascinator a bit more, which is nice, because i can adjust it exactly to my head.

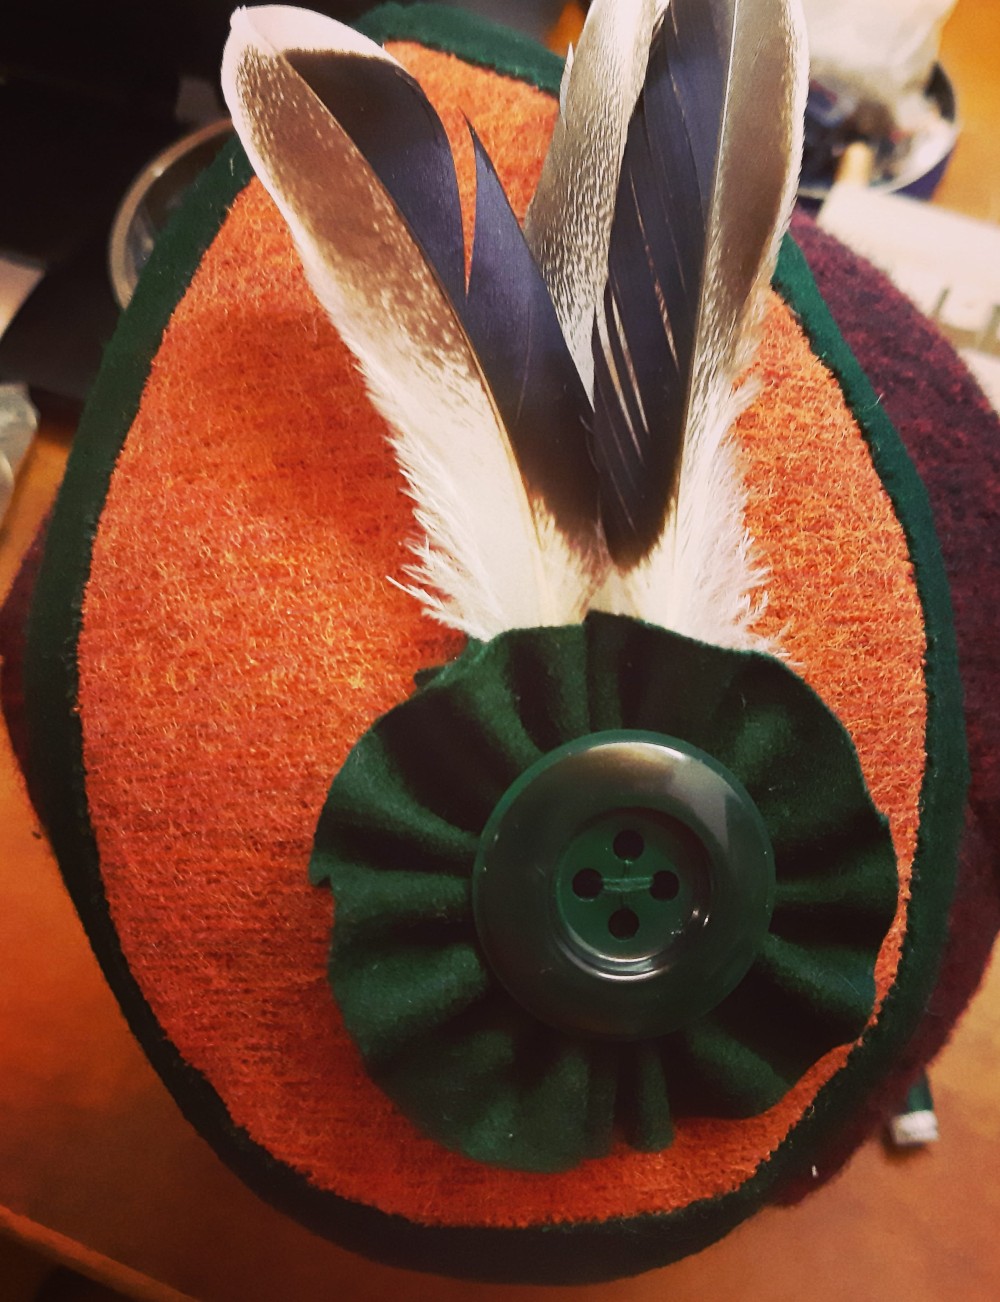
For decorations i just used some felt tape and gathered into a flower, some feathers my grandmas ducks lost last year and a green button. (Feathers are easier to sew through and on, than i thought!)

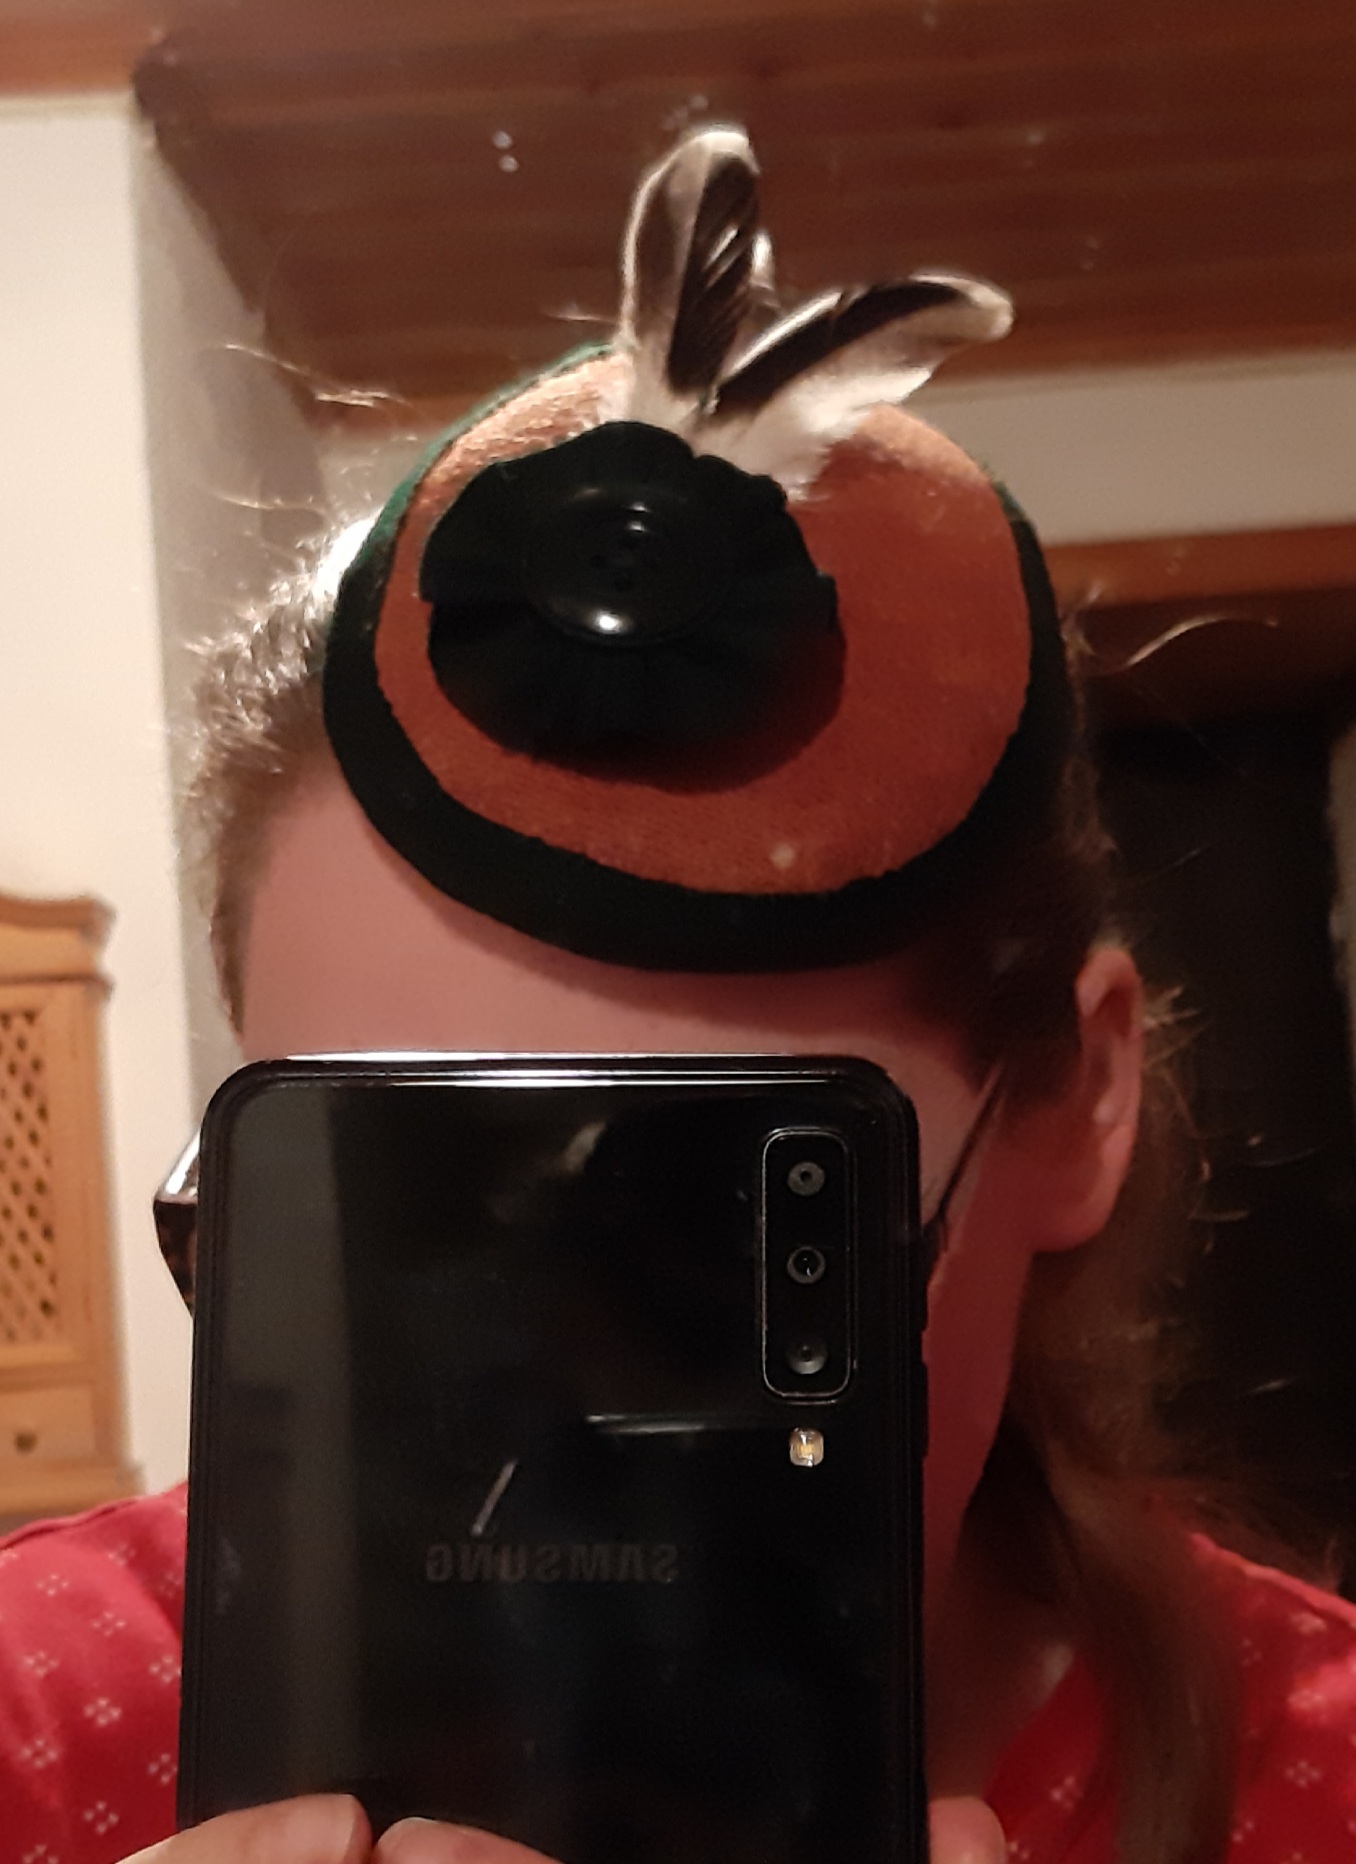
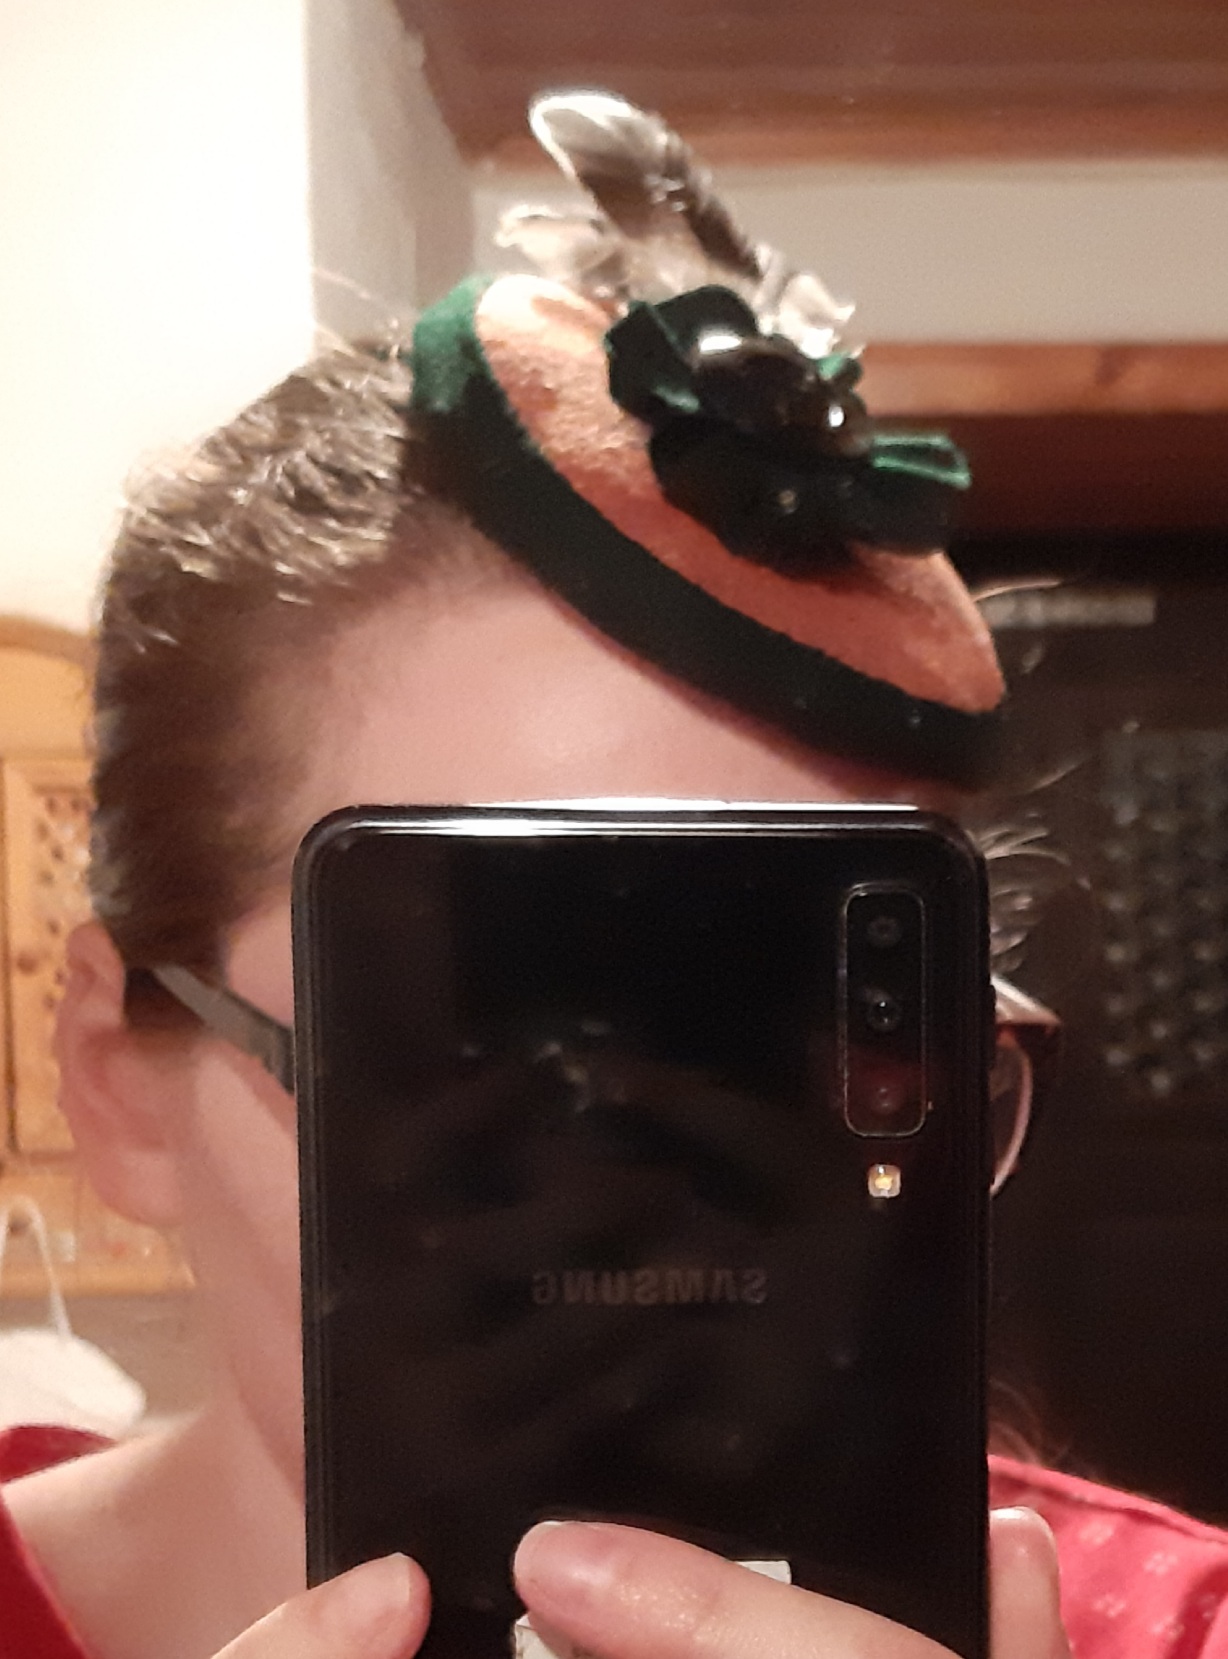
The pictures above were made before i added the hair clips. So, i´m only balancing the fascinator on top of my head.
I wanted to get some other hairclips, but i only could find the “usual” ones.
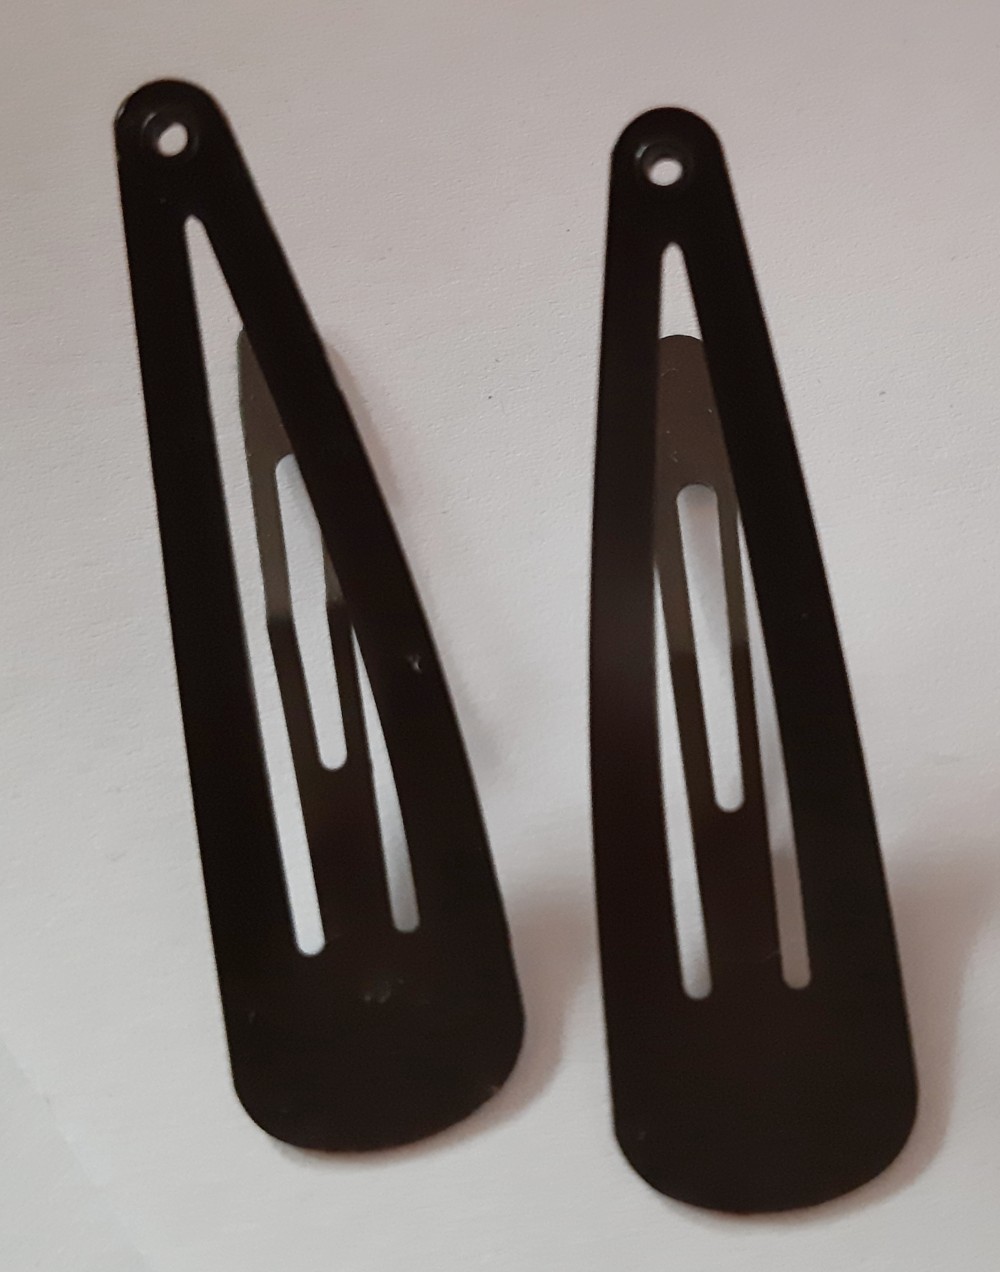
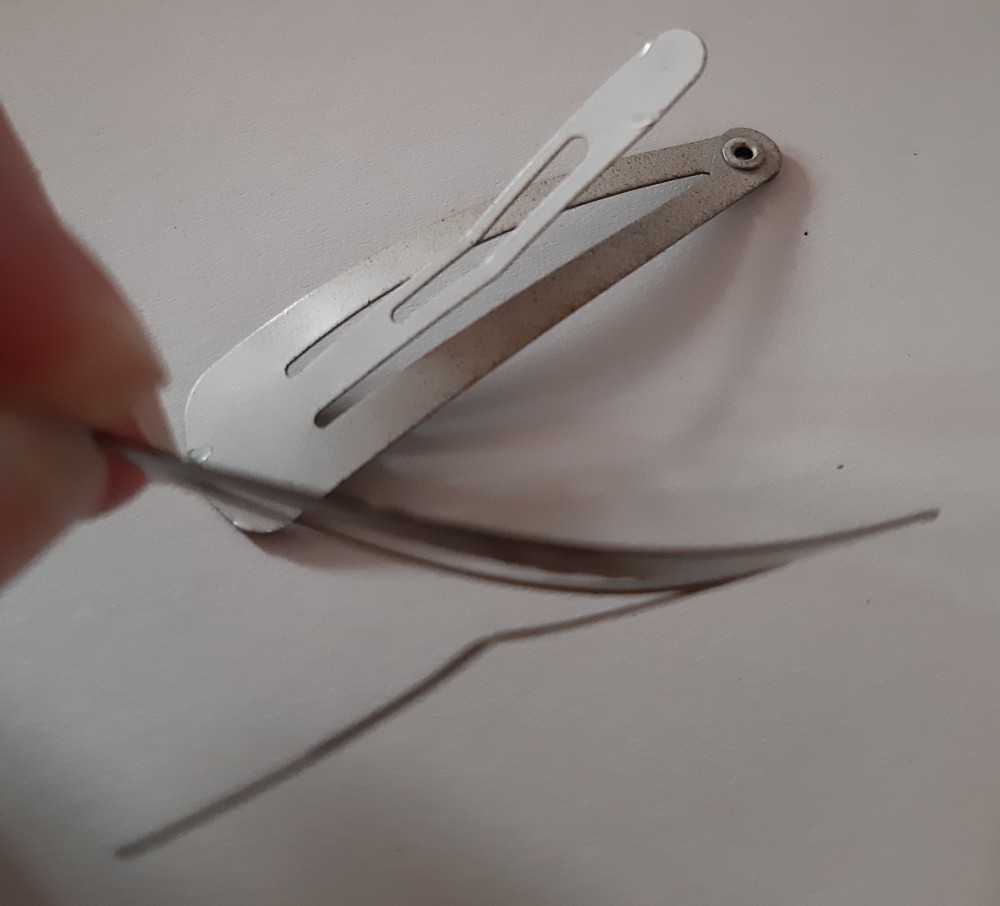
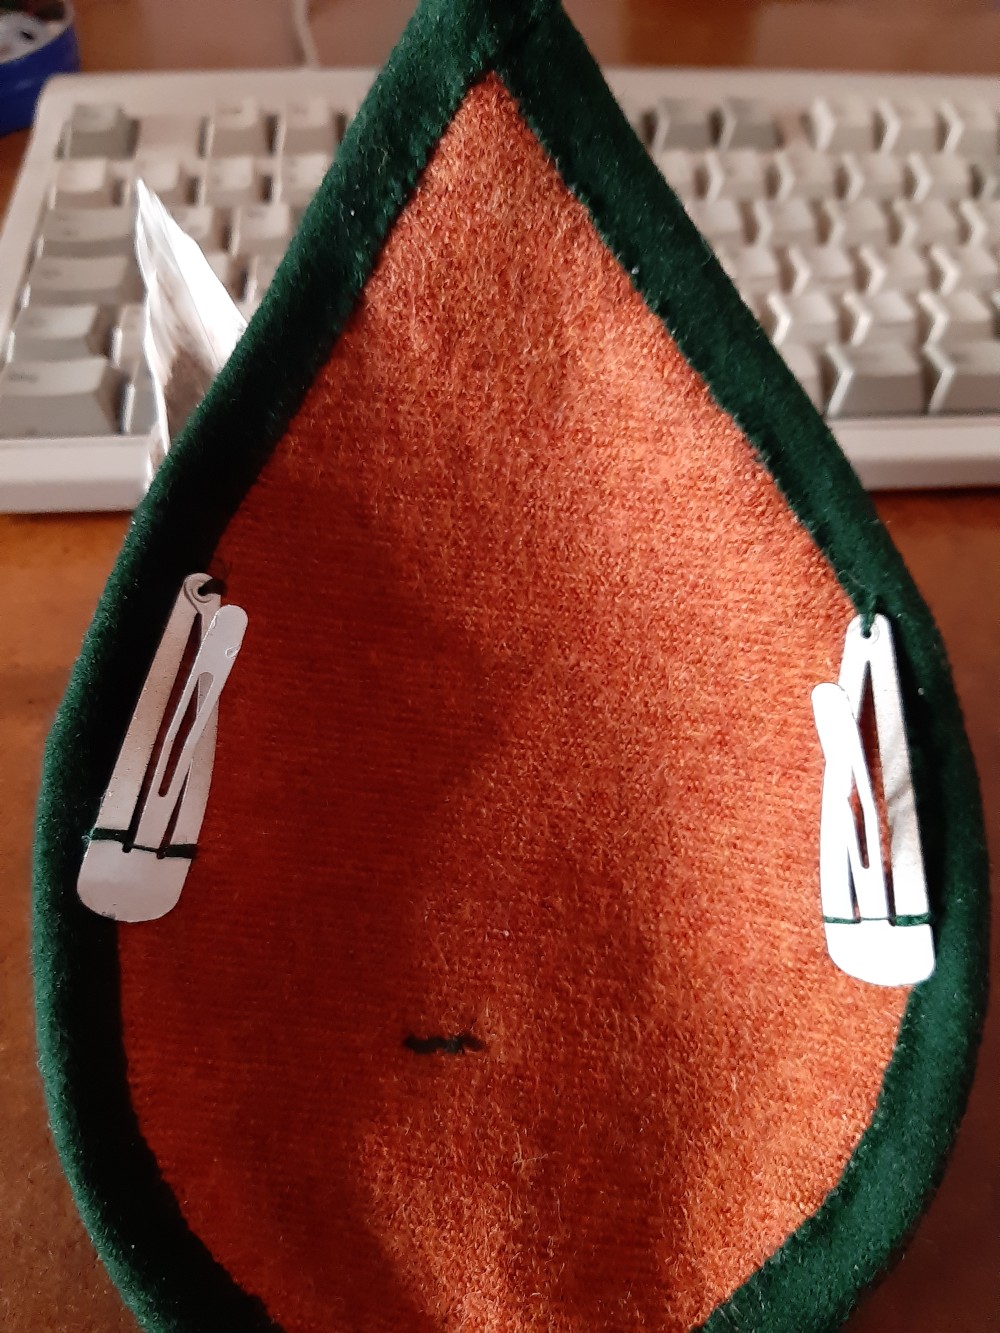
They are fine, but once i get my hands on something better, they will be replaced. I sewed one of them on each side. Trying the right placement of them beforehand.
And the hat was finished. All in all, it took me just a day (counting over night) to finish it. It was easier than i thought (that is a sentence i use so much, because i always think everything is complicated and work-intense).
Here you have the free Pattern. Please print it in actual size and measure the Control Box (5×5 cm). If you make something using my patterns (free or commercial) please send me pictures. I´m always interested in the creations of others. And if you have a suggestion for improvement or any other feedback, please let me know. I´m always keen on learing more and more. The Pattern is in A4-Format.
Thank you! Till next time…probably next Friday.
