
Yes, you read that right, sewing is (kinda) back! Last week i finished a bathrobe for a customer, and she wanted to have a Tie Belt with Belt Loops for the closure. So i thought, why not show you how i do it.
And as always, there is no right or wrong, there are so many different ways to make things and everyone of them is legit.
Tie Belts and Belts in general are just long rectangles, (sometimes one long rectangle, sometimes two). You get the length by adding extra allowance to your waist circumference (for tying the knot or a bow, or for the overlapping at a belt with a buckle). In Short: Waist Circumference + 15-20 cm = Belt with a buckle, Waist Circumference + 40-60 cm = Tie Belt. Don´t forget to add seam allowances.
If you want an extra large Bow add more (you can cut it off later, if it is to long).
If you have a thin or medium weight fabric the pattern piece is one long rectangle. If your fabric is very thick, for example a wool for a winter coat, the pattern pieces are two long rectangles. One piece for the wool and one for the lining fabric. Most times thicker fabrics will be lined with thinner ones, which makes it easier to sew and in the end tie them.
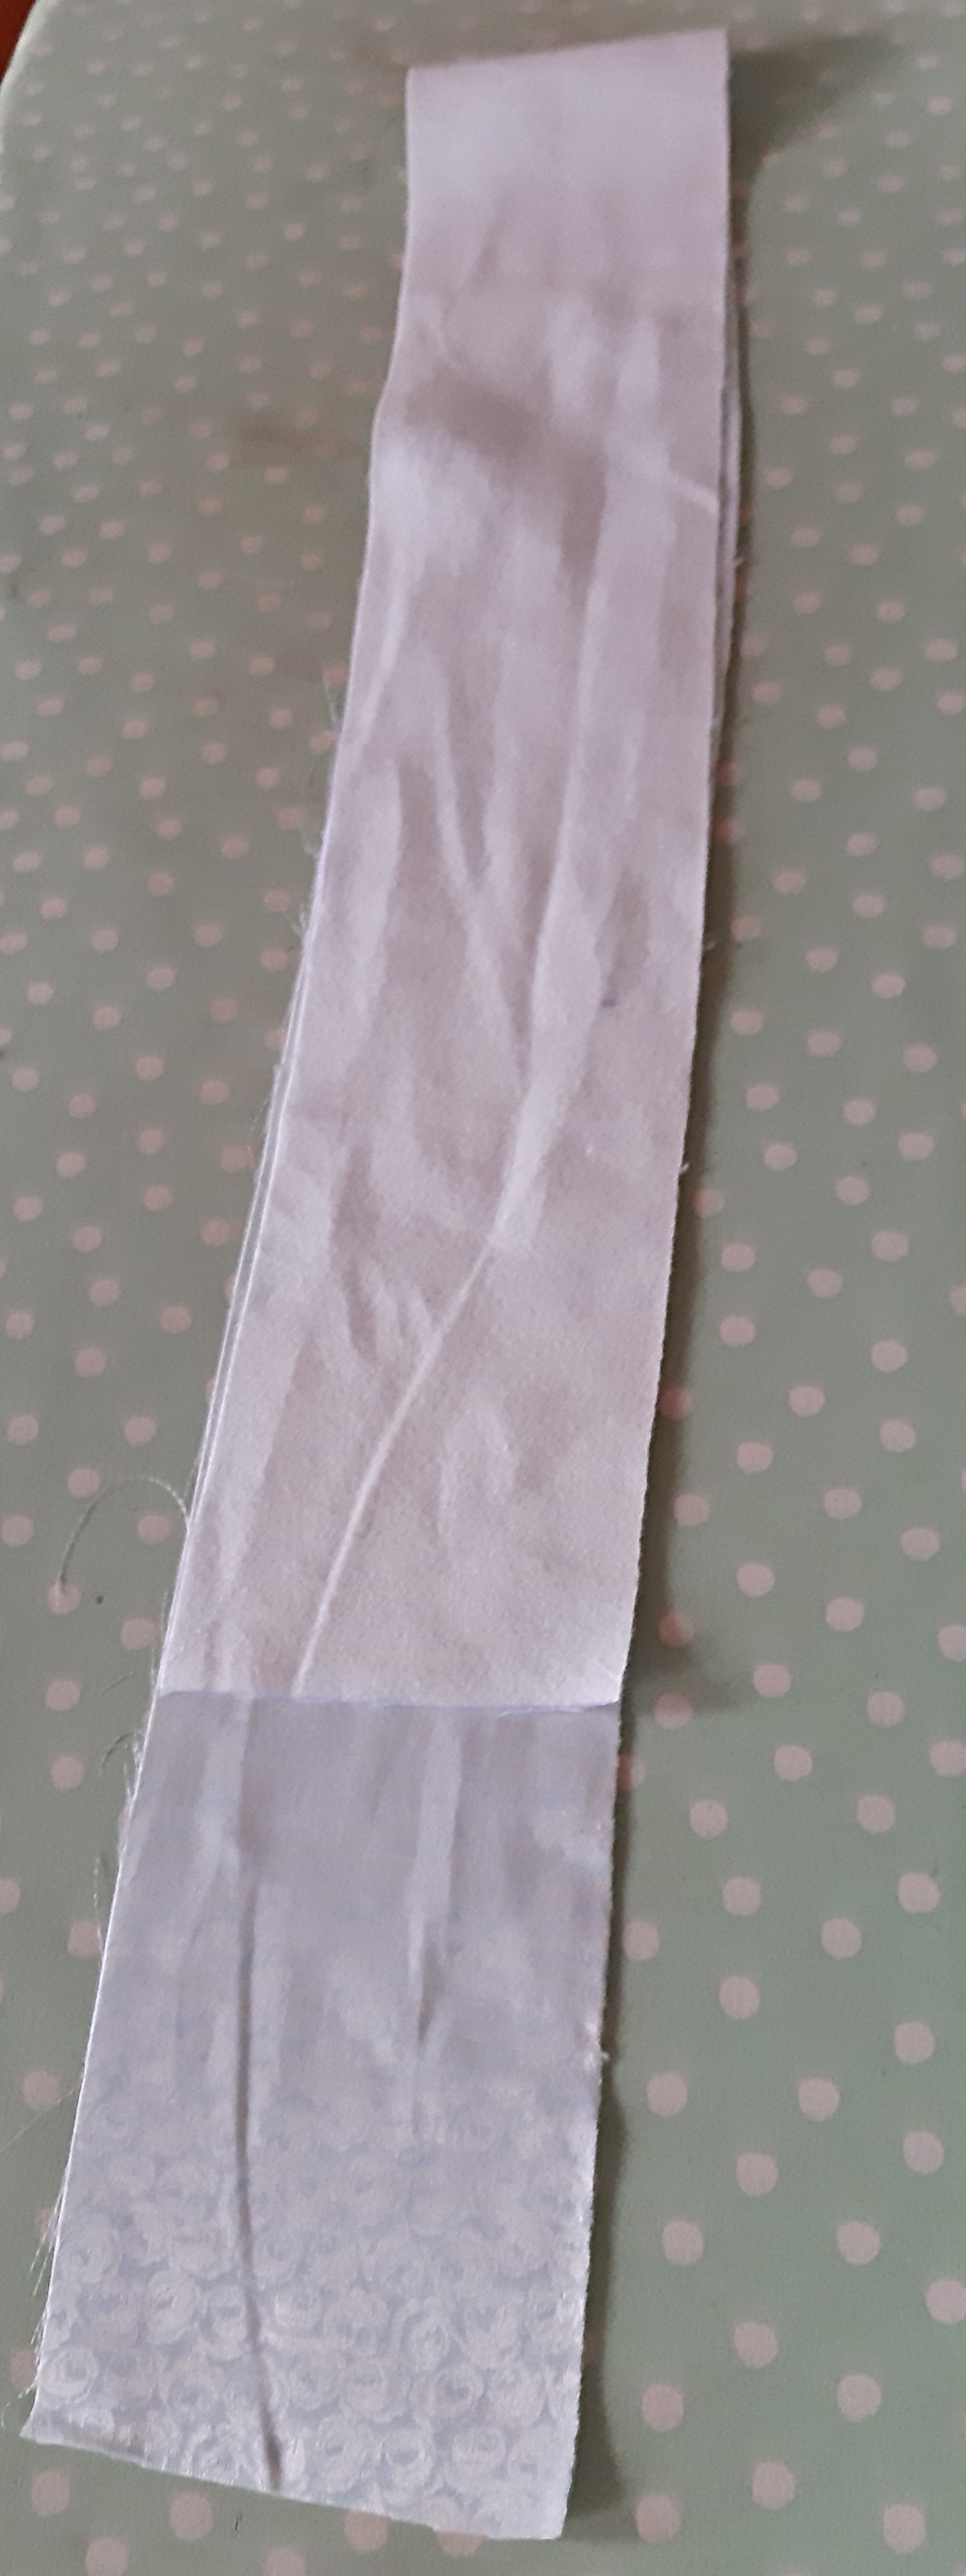
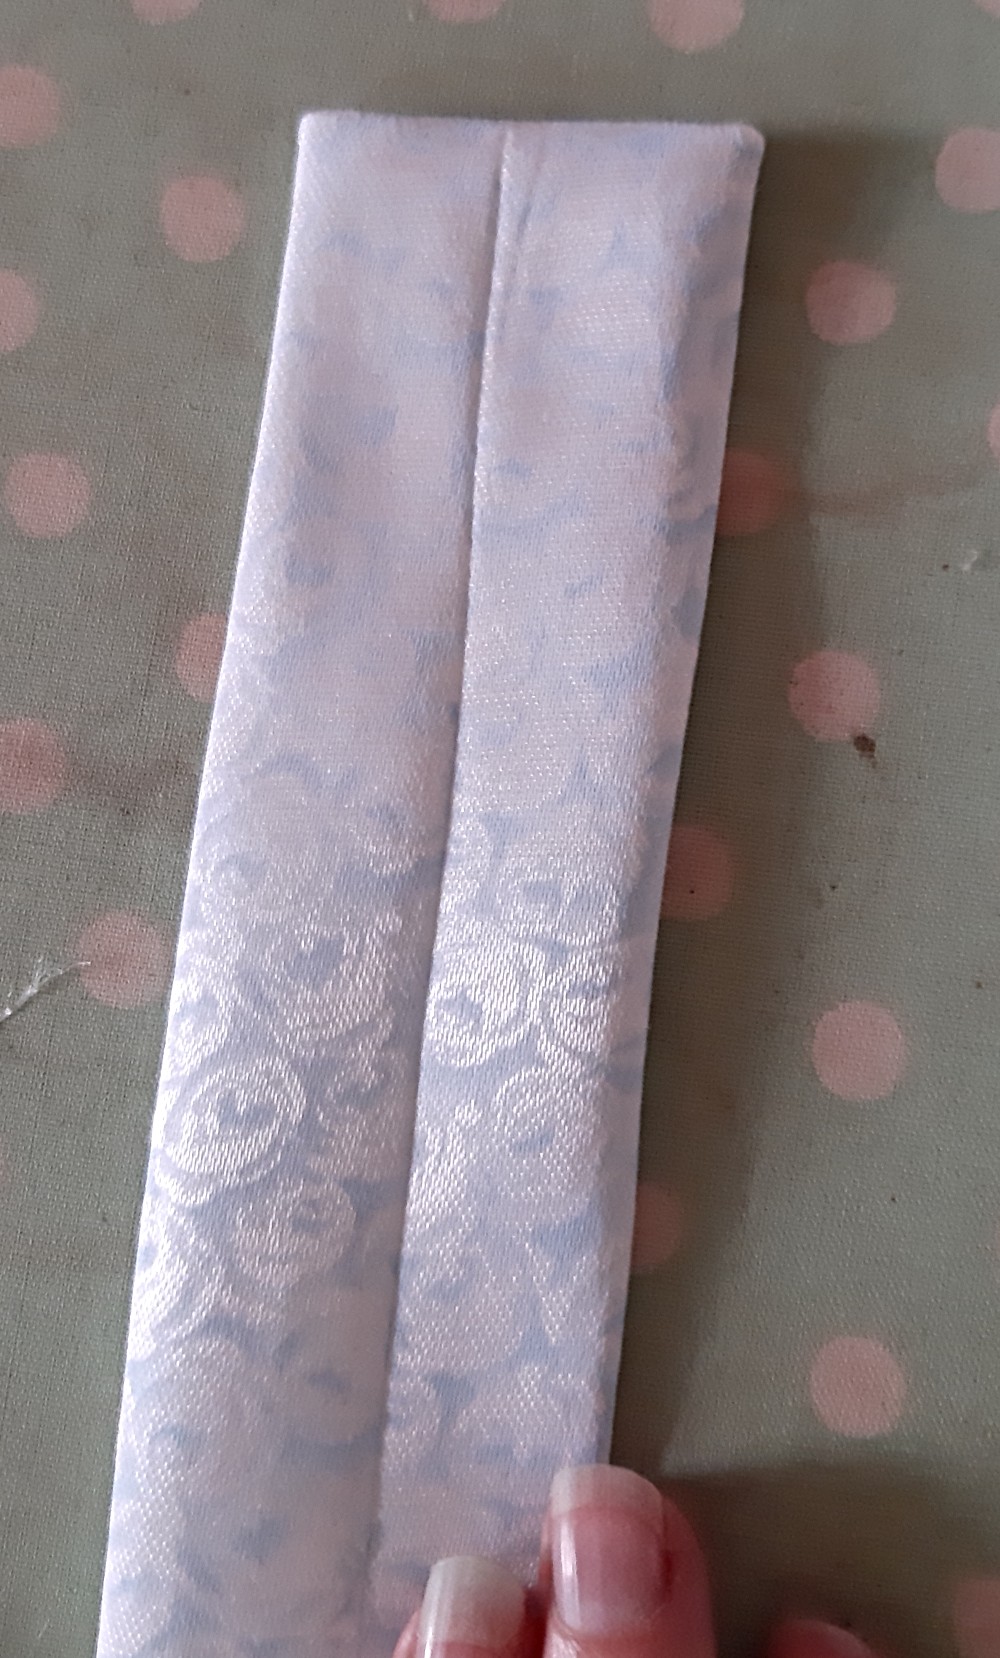
Your belt can be as wide or narrow as you want it to be. I wanted a belt that is 4 cm wide in the end. So i doubled that plus seam allowance = 10 cm. In the end i got a rectangle with 140 cm x 10 cm. (If you have a fabric that frays like crazy, serge your edges with an overlocker or sew them with a zigzag-stitch – i prefer an overlocker.)
There are two different ways to sew a tie belt. For both the first steps are the same.
For Belts with Buckles or other closures you normally add interfacing or a strong woven ribbon in between to make it much stiffer. But with Tie Belt it is the opposite. You don´t add interfacing because it would make the knot look to bulky and weird. (Although, if you want a bow that stands out this could be an option).
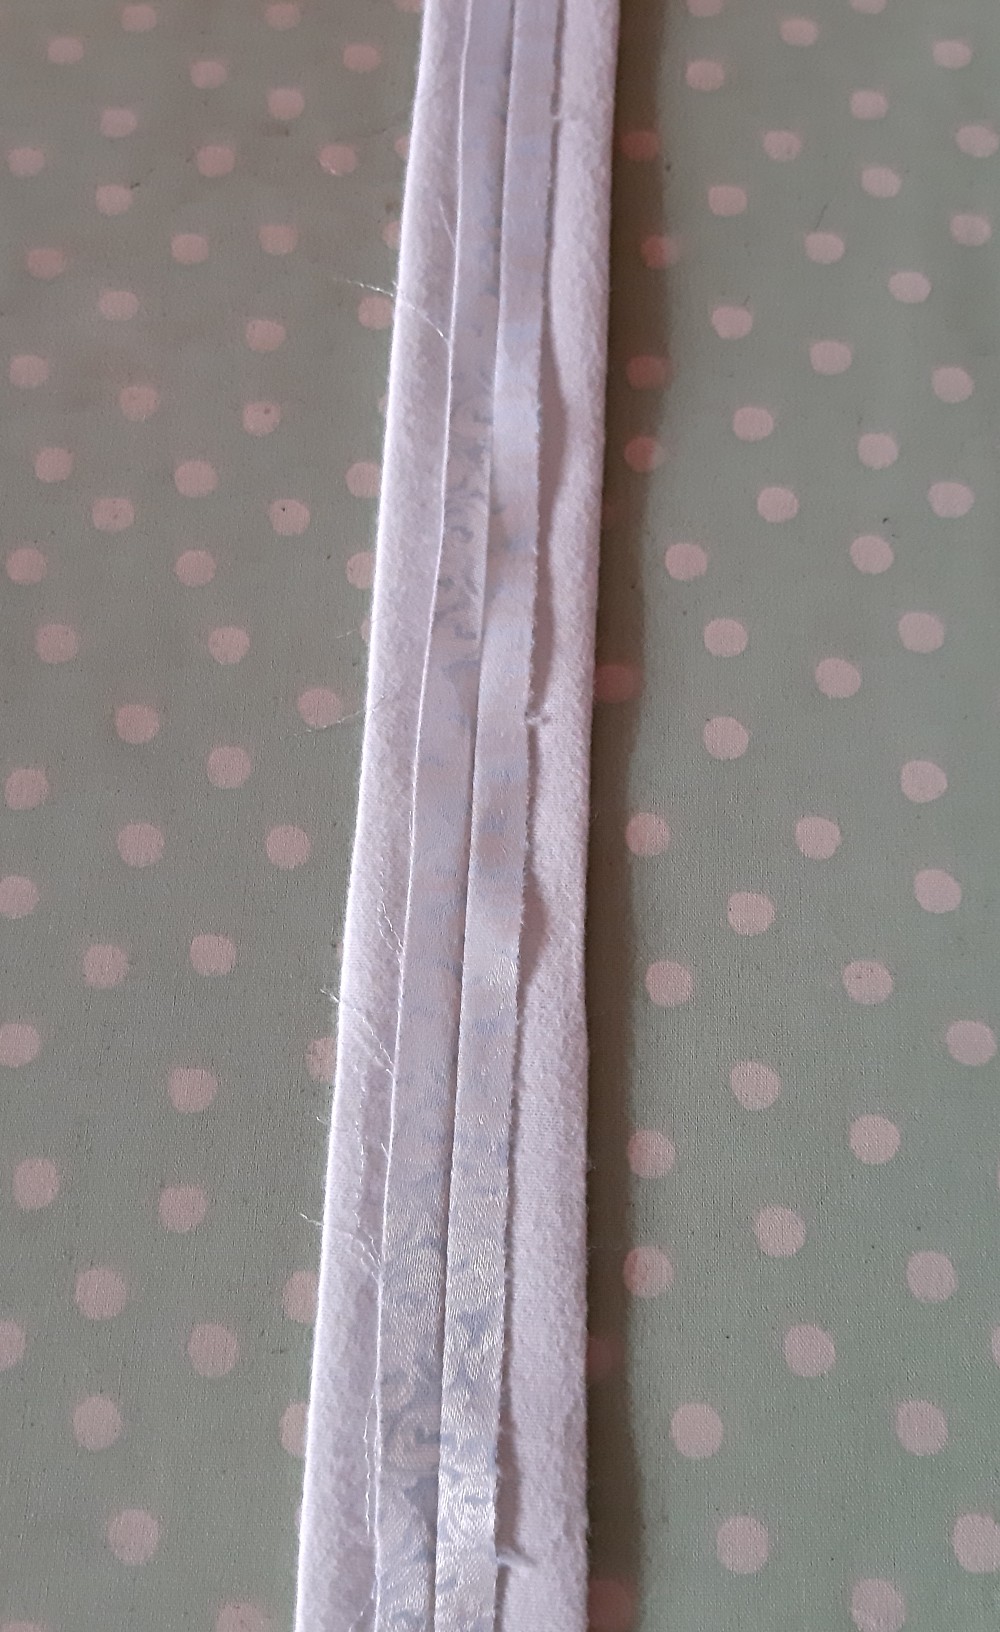
Step one ist to fold your rectangle so that your right sides (the nicer side of your fabric) are facing each other and pin the long edge down.
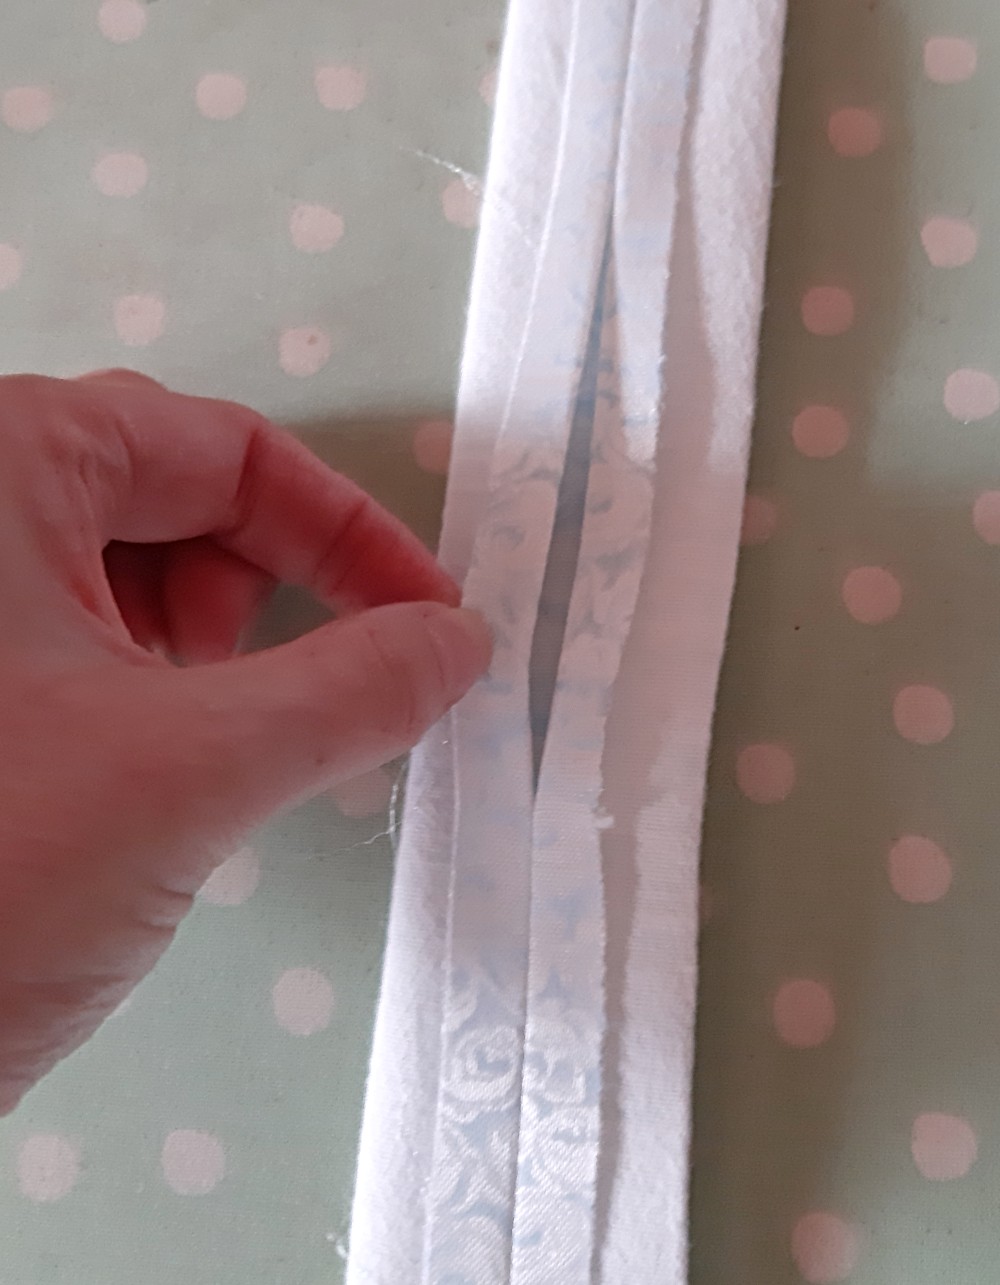
Step two is to sew the long edge, leaving a 10-15 cm long opening (for turning the belt inside out) in the middle of the rectangle.

Now it is time to decide which look you want for your belt (or how much work you want to do). As i said there are two different ways. The first option is to have that seam you just made, as the top or lower edge of your belt. The second option, this is what i made, is to have the seam in the middle of your belt, but on the side that shows in the direction of your body. You could say, from the outside it is “invisible”.
If you want to topstitch your belt, the first option is the way to go. But if you don´t want to topstitch and to have a smoother look, the second option is the one for you. (Which doesn´t mean you can´t use a topstitch with the second option, but if you already plan on topstitching, option one already saves you some work.)
With the first option you have to be careful with pressing it really nicely before topstitching it.
Step 3 (with the second option) is to press the seam open. I like to press everything flat right after sewing, so i know where the middle is and then i can lay the seam above it.
Step 4 is to close the short edges (the endings). You can make the endings straight, pointed or rounded, as you want. I chose the easiest one – the straight one. Decrease your stitch length on your sewing machine – this gives a bit more durability. I had stitch length 2,5 mm for the other seams and 2.0 for the endings.
Step 5 – Turn the belt right side out. This works with long knitting needles or any other long stick, some use a cooking spoon, i have a long metal stick especially for this. If you have problems with the corners, use a pin and carefully pick your sewed stitches up and pull at them.

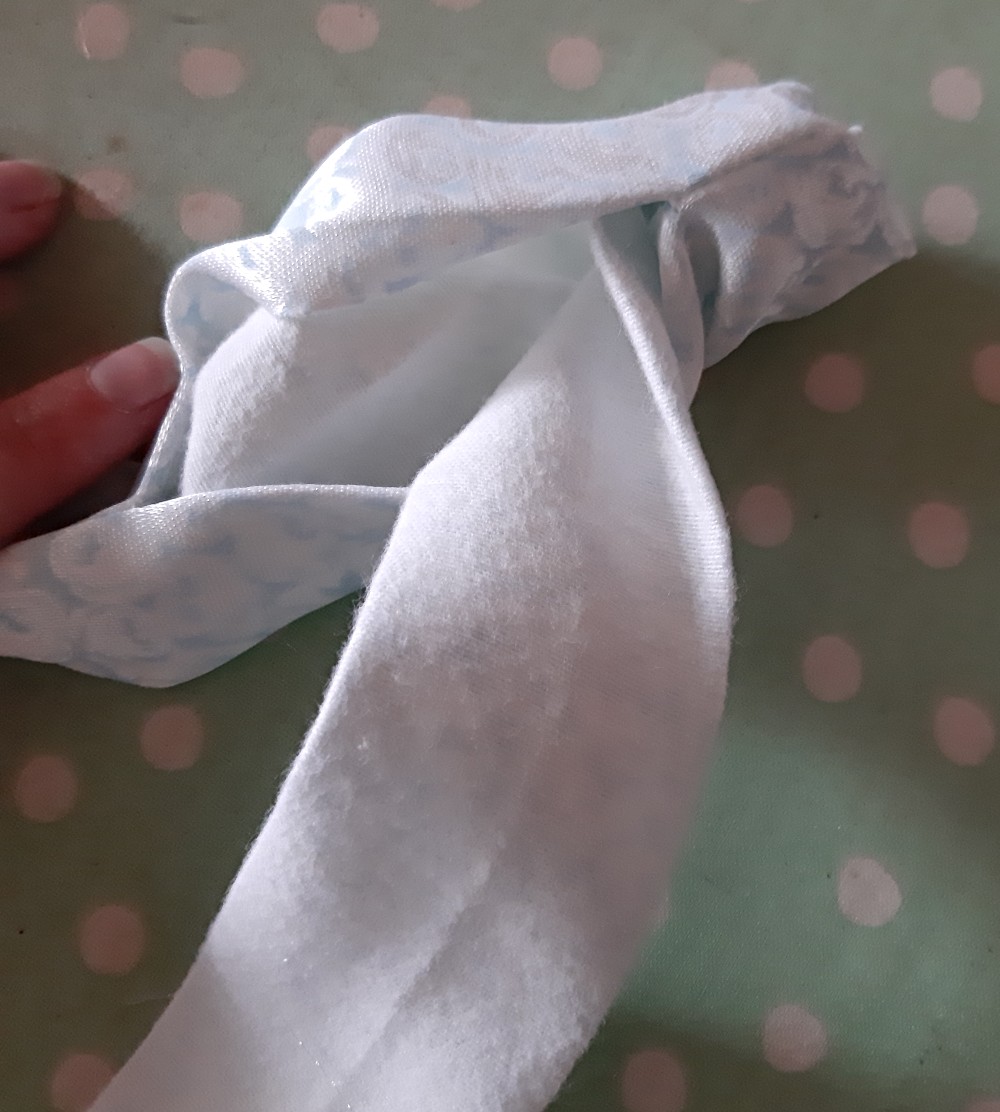
Step 6 – Press the Belt flat and close the opening with a ladder stitch.
And your Tie Belt is finished.
Now for a Belt to work properly, you need to have Belt Loops. But this is for the next post. I promise it will be short. And then you will see the finished bathrobe.
Thank you for reading, till next time.
