Dirndl Completion and Knitting Endeavors: Sewing and Craft Progress Update

Oh my god..nearly six months passed since i wrote the last blog post. I´m sorry for that. This year was/is kinda harsh and i couldn´t bring up any motivation to write anything. At least i did sew much more than last year (finally finished my Dirndl..yay!) But let´s go step by step.

I´m still in a kind of knitting craze, although much more controlled than the last years. Now i can go weeks without the urge to have to knit something. And i´m making bigger projects as well. As i have written in my last blog post, i have started a cardigan in light fingering yarn from a vintage pattern.

It is this pattern : https://www.ravelry.com/patterns/library/classic-cardigan-197
I had my problems with it, but i managed everything, sewed it up and it has a nice fit. BUT then i had to make the neckband aaannd i stopped working on it. In January. It still sleeps in its project bag somewhere in my bedroom. It will be finished one day…

The next knitting project i started was the Berry me Sweater by Drops (https://www.ravelry.com/patterns/library/250-33-berry-me-sweater). Started on February 20, finished the bodice about two weeks later….and now it waits for its sleeves…

The next knitting project i started (do you see a pattern already?) was something i always wanted to try, but was quite scared of it (because of certain techniques). A colourwork jumper! And no, not a simple colourwork jumper, an all over colourwork jumper with steeking. The pattern is from a old book, actually it is so old it is already vintage. (1983 to be precise.)

The colourwork pattern was easier than i thought, and my floats don´t look that bad actually. So there will be a bright future with many colourwork projects.

I finished the whole body and the sleeves. The next step is steeking the armholes, closing the shoulders, knitting a collar and sewing on the sleeves. Well, at the moment, it is sitting next to me and waits to be finished…

But there is also one project i finished (for mothers´ day..so it was urgent). The Arborg Tee by Sandra Buzza (Link is here: https://www.ravelry.com/patterns/library/arborg-tee). I finished it in about two weeks!

I really like how it turned out, i think i will make it again in a different colour and for me.

After that I , of course, started a new project, because why should i finished one of the old ones? Another colourwork project, but this time an easier one – one piece in the round. I still haven´t finished it, but i´m slowly getting to the end of the body. I hope i don´t abandon it once i´m at the sleeves…Here is the link: https://www.ravelry.com/patterns/library/missoni-accomplished

Well yeah, those are my knitting projects i have at the moment. I won´t show you my ravelry queue or other knitting plans, because at the moment they are outta control.

Sewing wise i made a lot of alterations for costumers this year. And, more important, i´m back at pattern drafting. I´m about to finish a pattern for a skirt, as well as one for a trouser. There is also one for a dress that need it´s finishing touches and a jacket. Everything is going a bit slow, but i´m happy i´m kinda back into it – mental wise and so on.

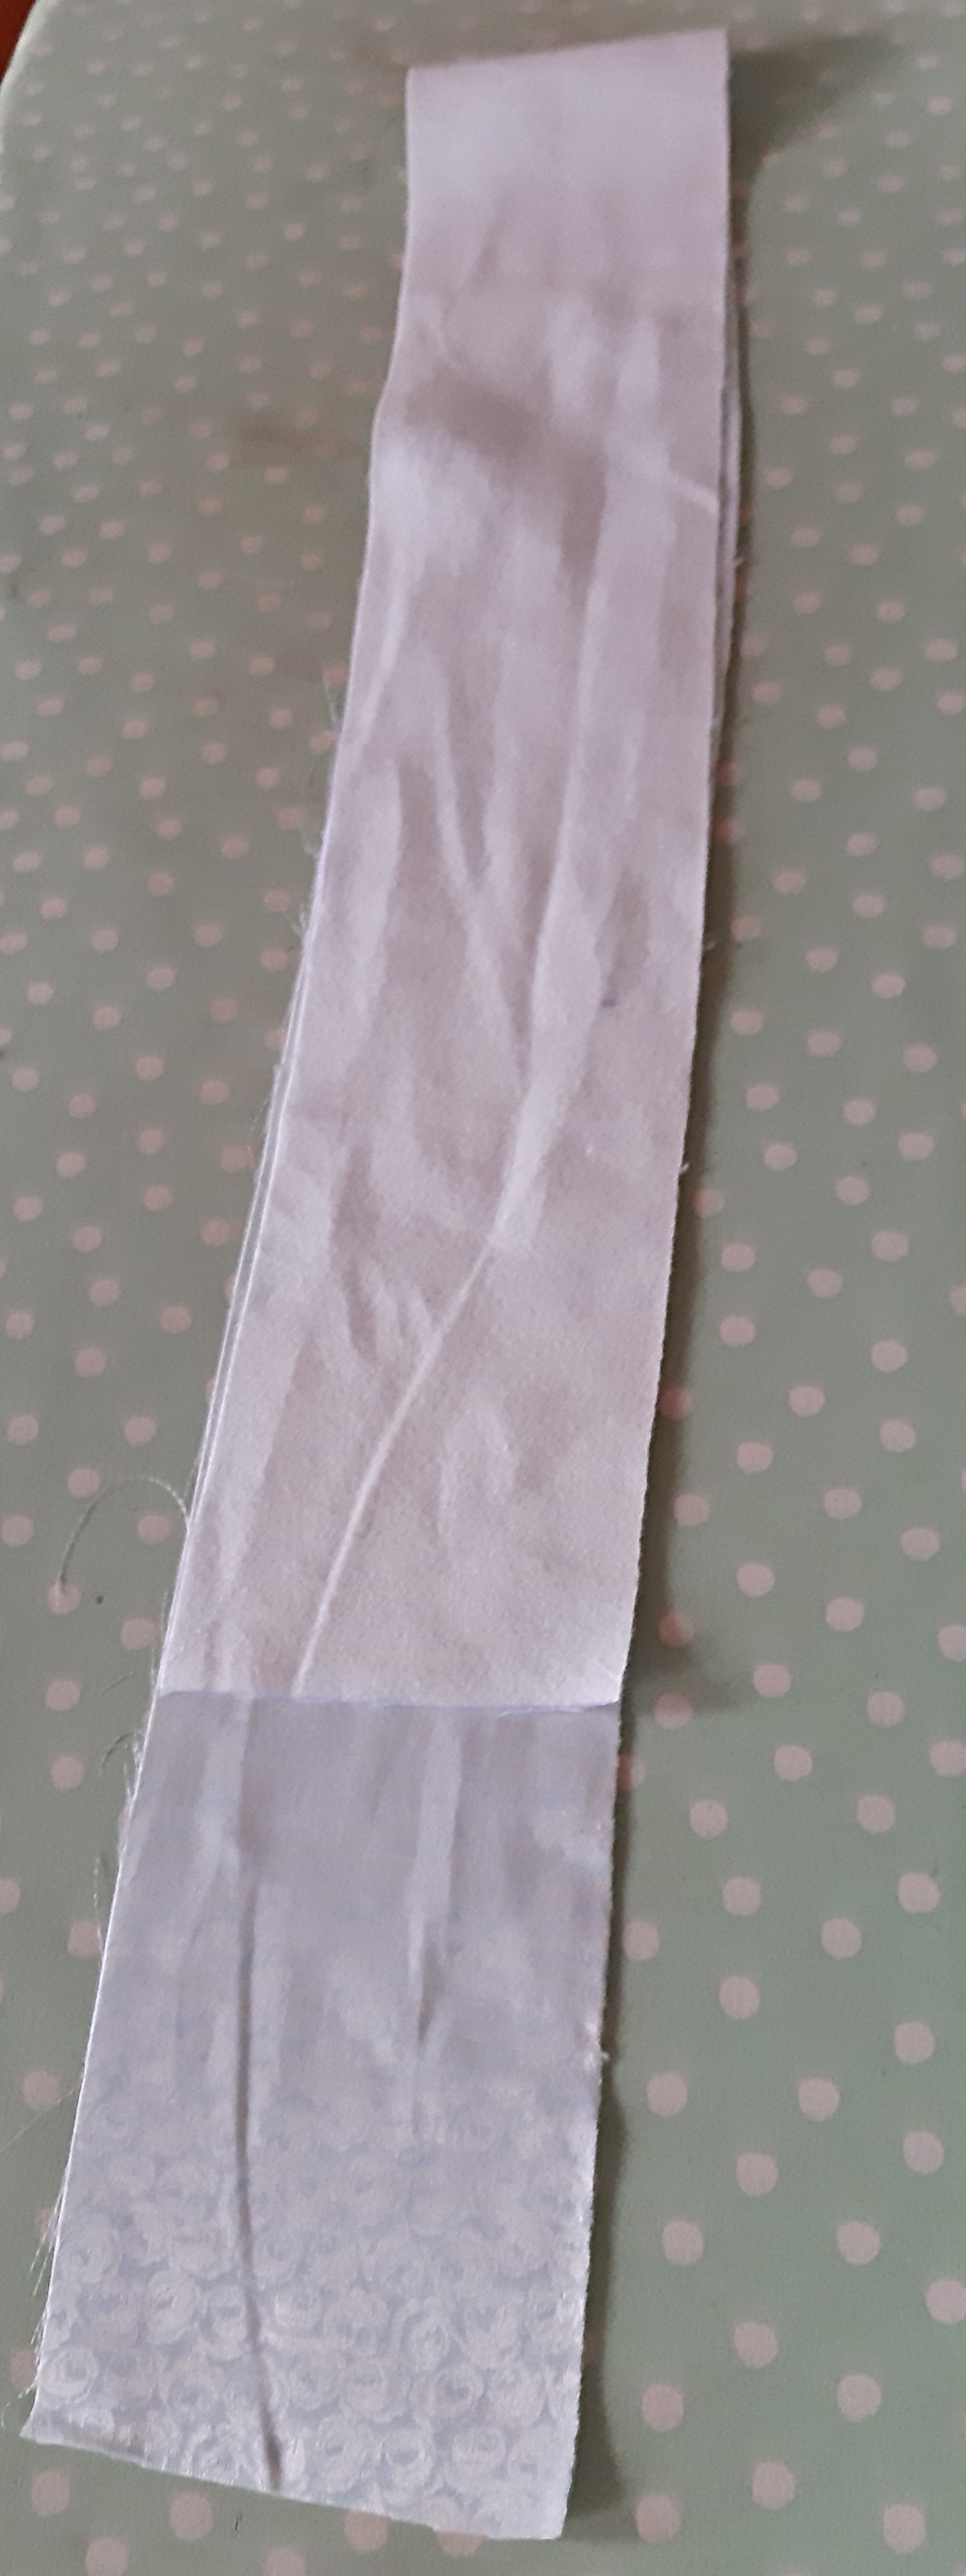
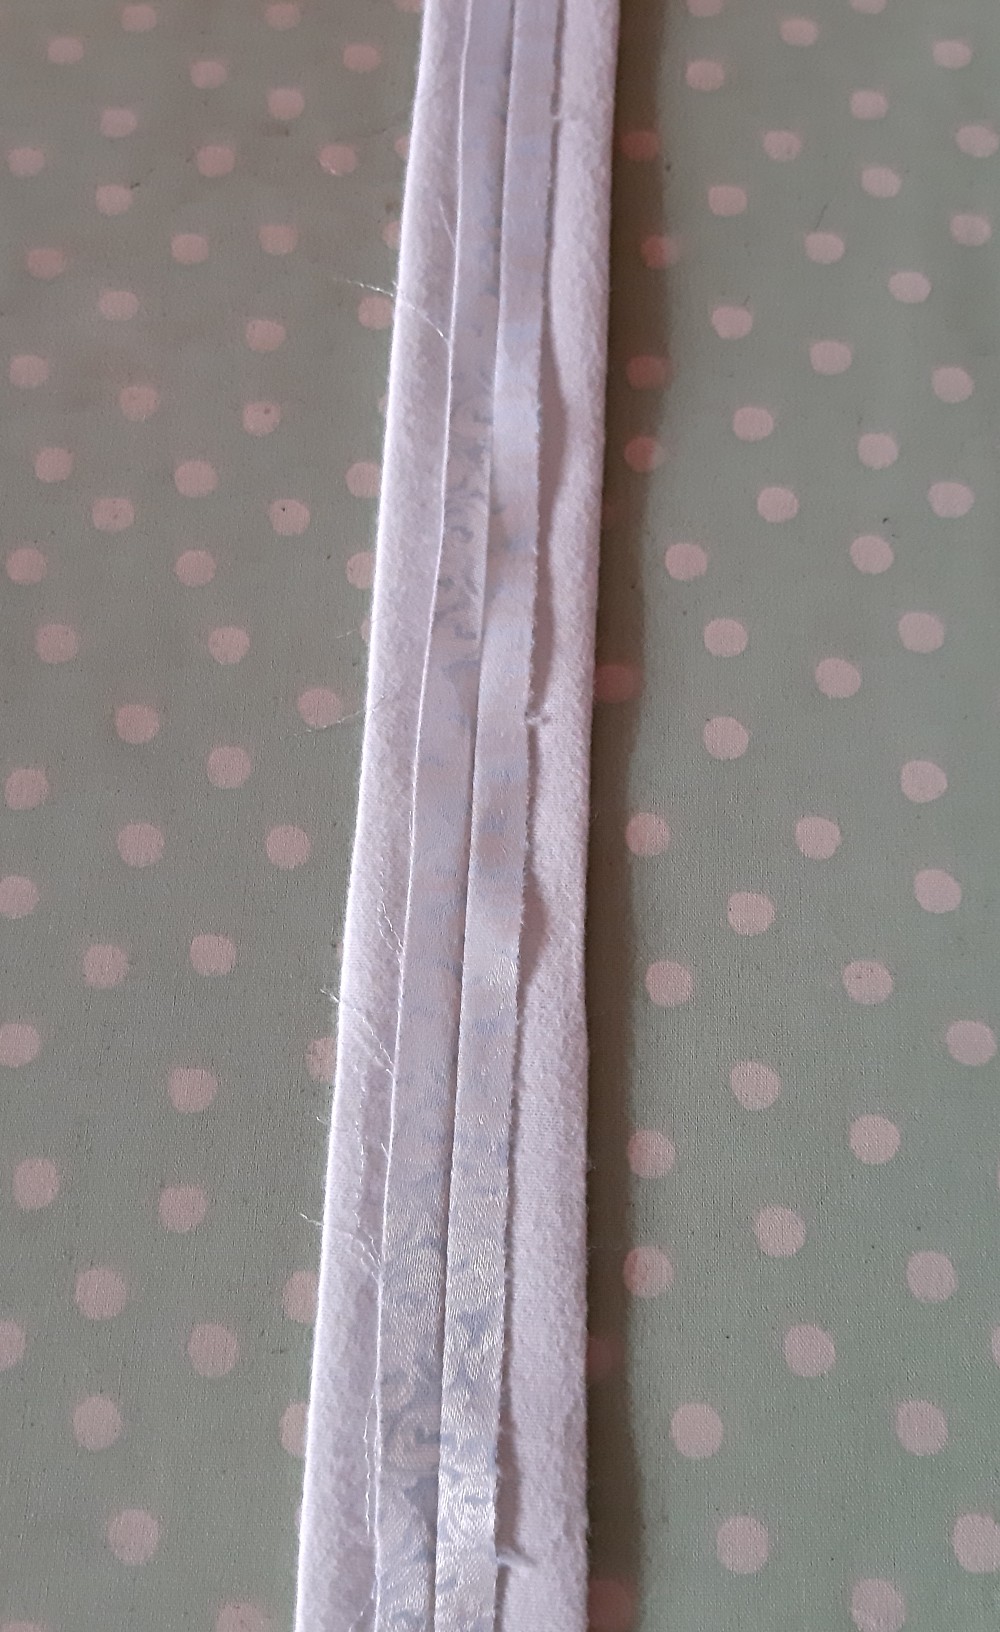
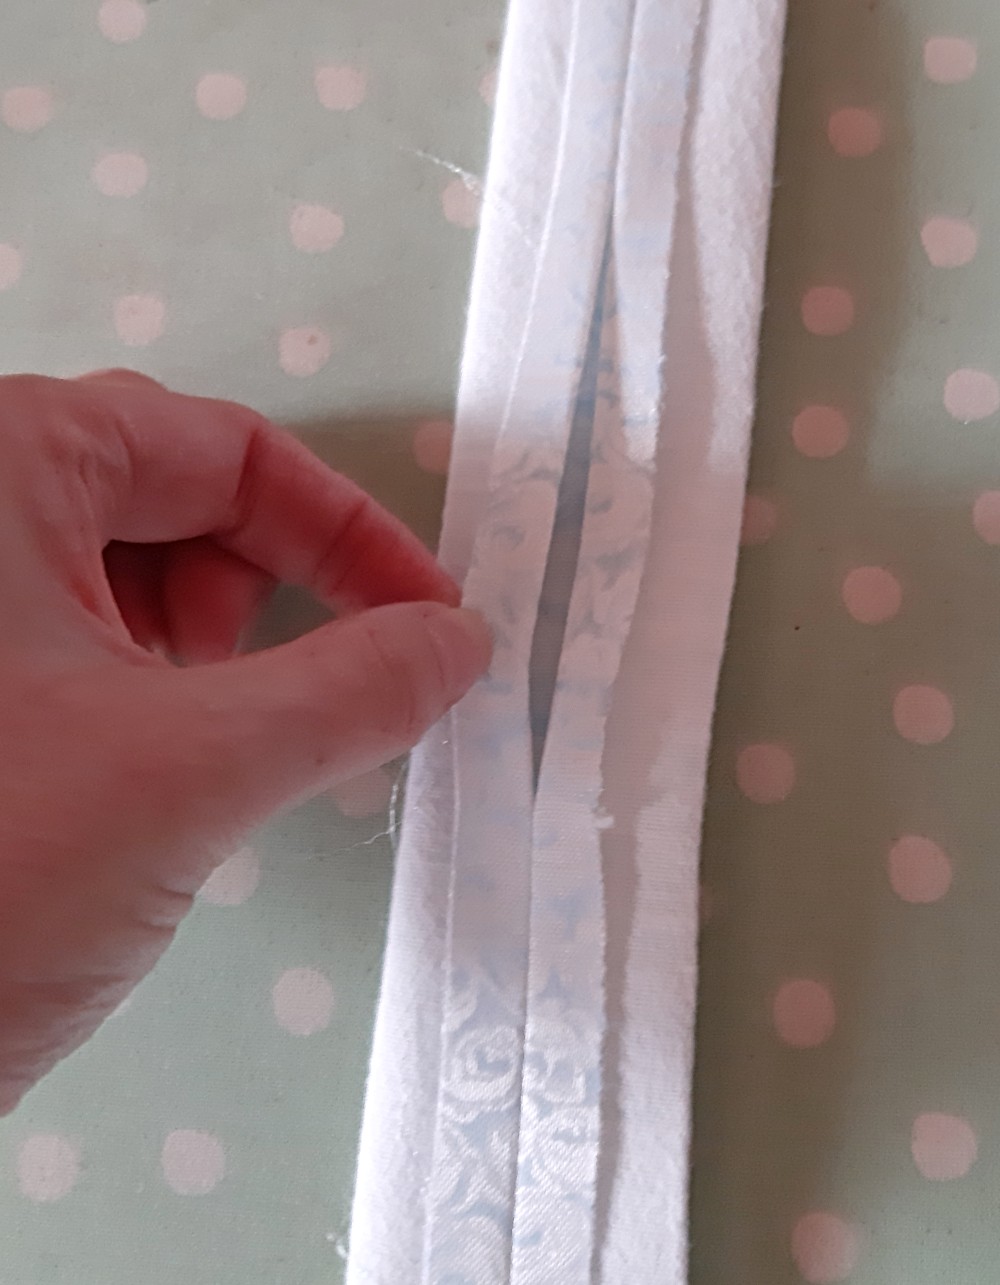
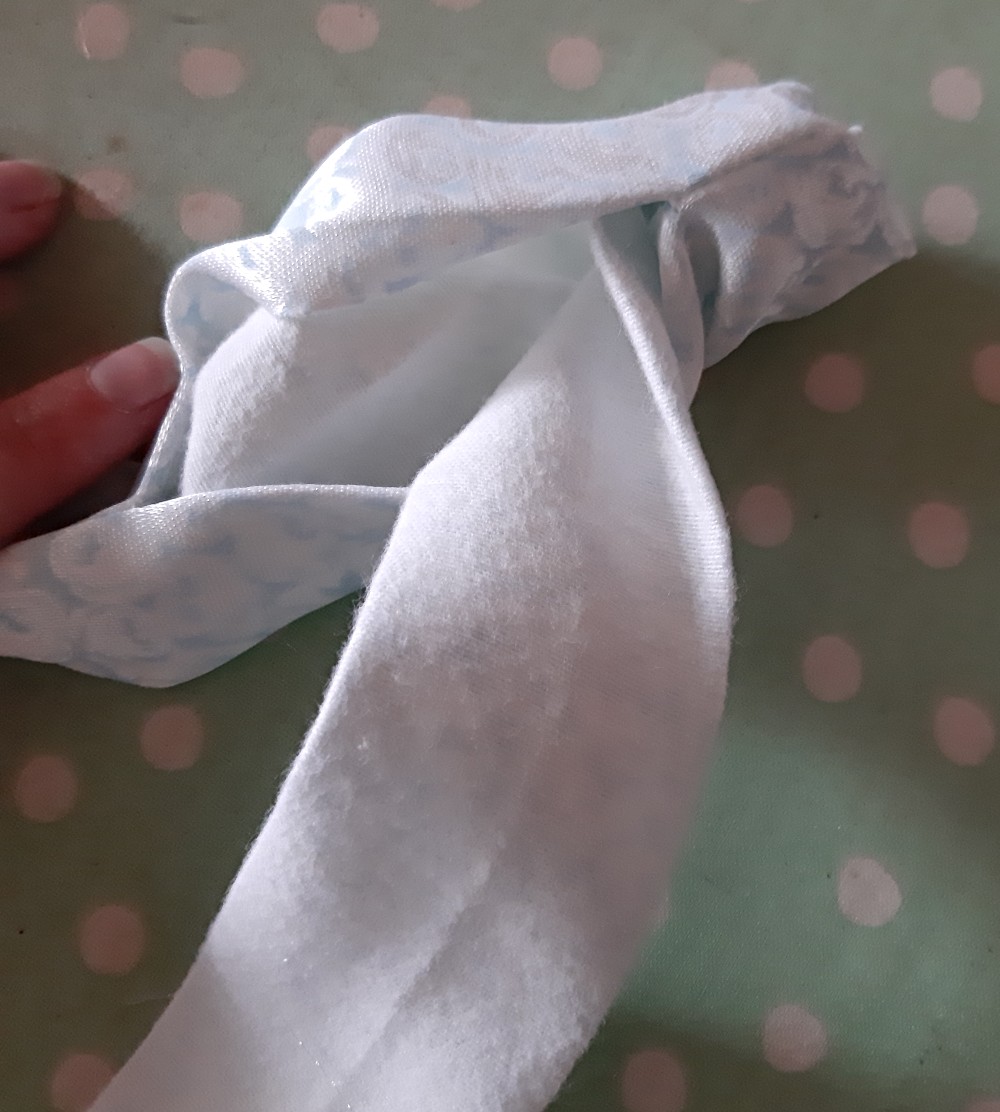
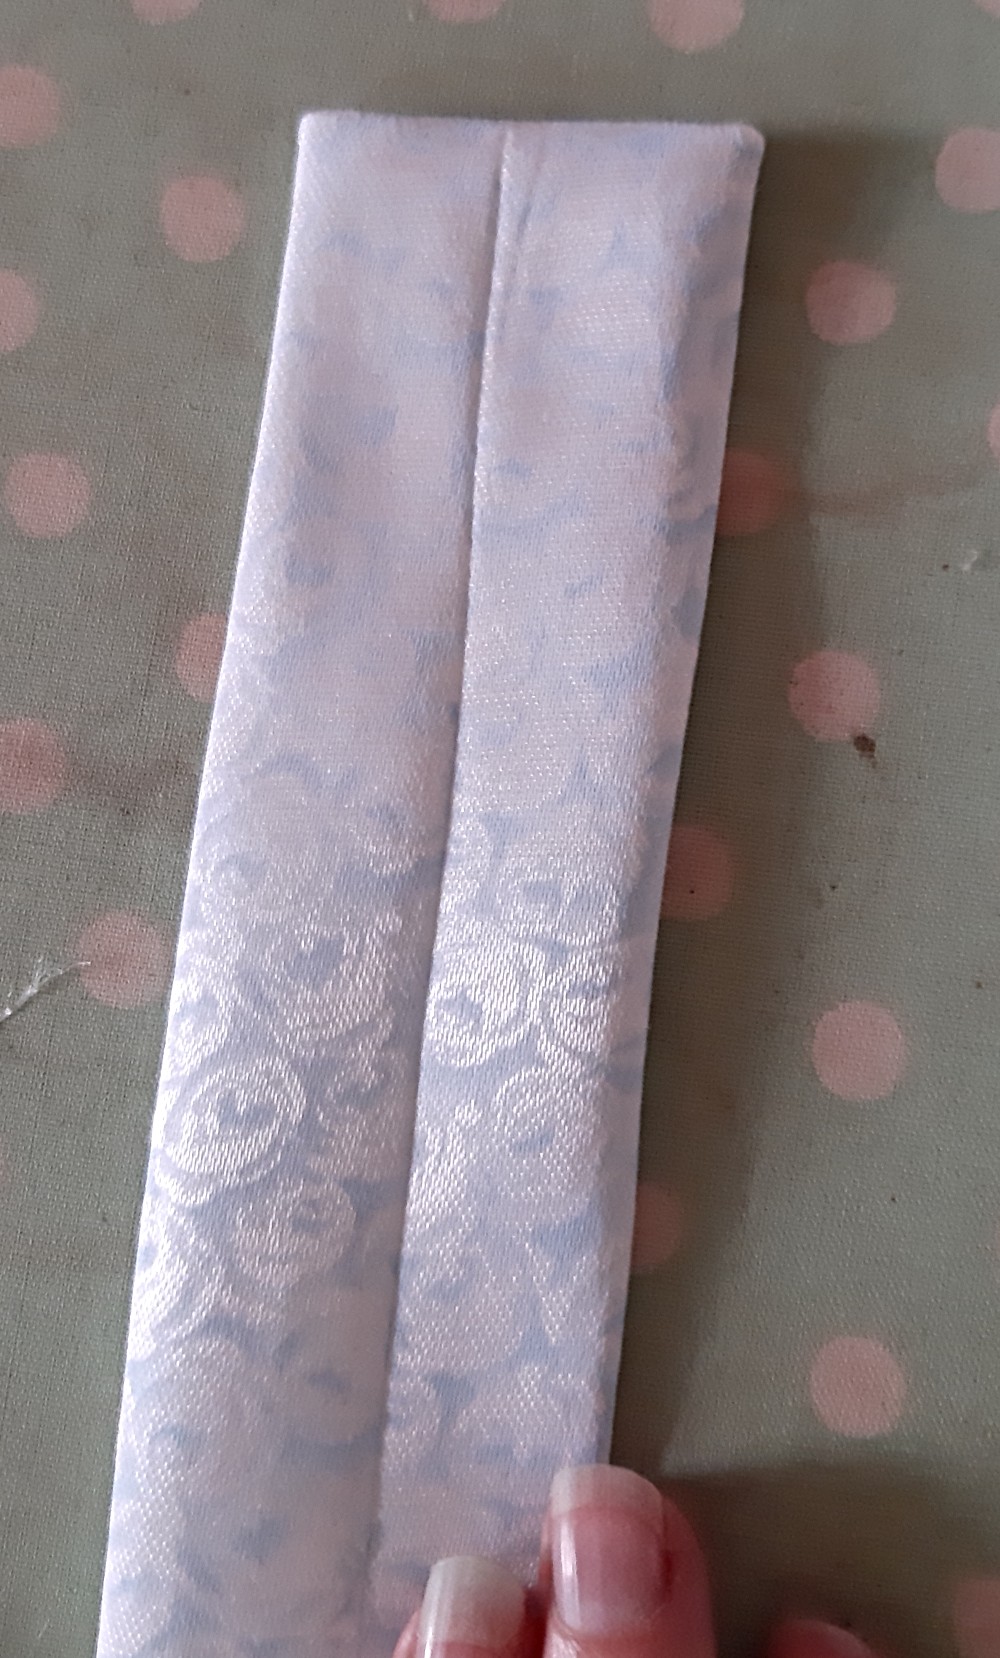
As i mentioned, i also finished my Dirndl (took me only 5-7 years…)

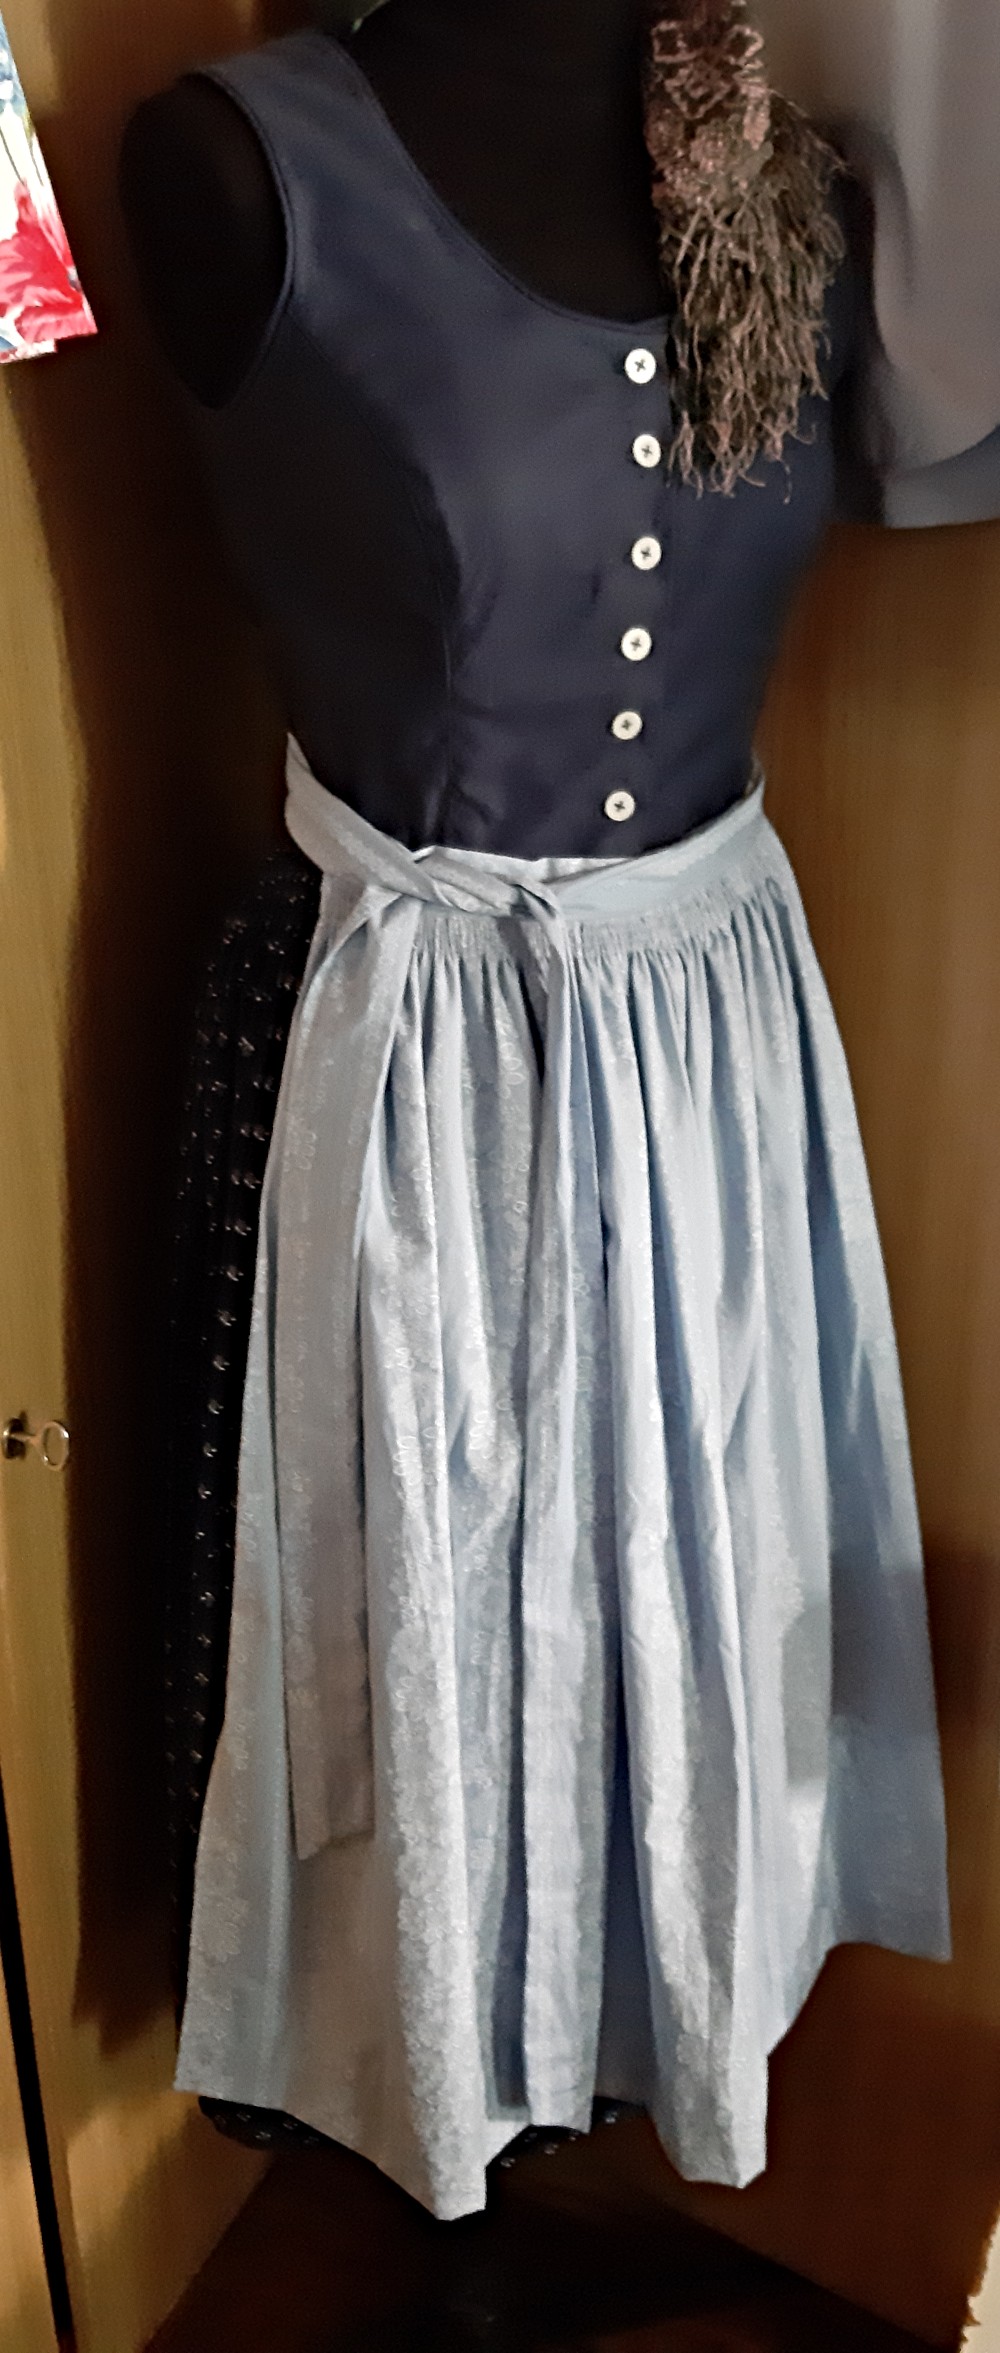
It has a blue print cotton skirt, a dark blue cotton bodice and a light blue apron with floral stripes. I didn´t take any pictures while making it, because i hardly knew what i was doing and learned a lot (i mean, it was my first dirndl, normally i just alter them for others). But there maybe will be a new one soon.

I hope i will be posting more regularly, still have a bit of a back log of posts.

Thank you for reading and have a nice day/week/(month) till we read again!

Knitting Adventures: Gloves and Mittens

Hello everyone! I hope you all have or had some nice, cozy holidays. It is terrifying that the year is nearly over already. But well, times flies by as always.

A few days ago i finished my christmas present (yes, this year it is only one) and now i have some time left to sew a bag for it instead of wrapping paper.

But first i promised to write about the mittens i knitted from the lilac yarn, from which i also knitted a vest (here), a cowl and a hat (here). Amazingly i still have some grams left. And that is why i decided to not frog the hat, although i don´t really wear it.

The pattern was a vintage pattern called Ladies Mittens by Jack Frost. Here is the Ravelry link: https://www.ravelry.com/patterns/library/ladies-mittens-5620 or if you don´t like Ravelry here is the link to the original site: https://freevintageknitting.com/mitten-patterns/jackfrost56/5620-ladies-mittens-pattern

The pattern calls for a worsted weight yarn. The mittens, and that is what i really enjoyed, are knitted flat with 3,5mm needles and then sewn together.
But there also appeared some mistakes in the pattern. For the second mitten i switched Row1 and Row2. This solves the issue with Row4 not matching. But the “cables” are still on the wrong side. So you have to purl the decrease row + add an 8th row afterwards so you are on the right side again.

All in all it is an easy knit and quite fast.

I also, for the first time ever, recorded my knitting, edited the video and uploaded it onto youtube. The quality ofthe video isn´t the best, but for a first time not the worst. If you want to watch it, please don´t forget to activate your subtitles.
Here is the link: https://youtu.be/Af6HmBjU54k?si=3gqcEYjSACjxlH1L

The christmas present i finished a few days ago are some gloves for my mother. I also found a vintage pattern i liked, and kind of followed that. The pattern i used had colourwork in it, but i hadn´t time for that (nor any yarn) so i made them plain and simple.
The pattern is Mens Argyle Gloves by Nell Armstrong. Here is the Ravelry Link: https://www.ravelry.com/patterns/library/mens-argyle-gloves-615
And here is the original link: https://freevintageknitting.com/gloves-patterns/doreen96/615-mens-argyle-gloves-pattern

The pattern calls for a Sport weight yarn and 2,75 mm needles, but i decided to knit it with 3 mm needles (it worked as well).
The yarn is from Hobbii. The Black Friday Acrylgarn in Dark Navy. This is the first time i bought something from Hobbii and i´m quite impressed with the quality of it. I bought some other yarn as well, it is/was a christmas present from me to me, because i never get any yarn from my family for christmas. (Or anything else for my hobbies.) I filmed the unpacking from the package, if you like to watch it, here is the link to the video: https://youtu.be/BXt-DgZ5Bl0?si=druRgMp6IqDdVIcf

The gloves are also knit flat, which is quite an interesting construction, but i really enjoyed knitting it. As well as the mittens, those gloves are really fast to knit. And this time without any mistakes in the pattern. But i can´t promise that i knitted them without any mistakes. An advice from me, be careful with measuring the fingers, always from the same point or else they will be a bit different. I think while wearing them it won´t be too obvious.

Even while soaking them in some hot water (with some washing powder), the yarn didn´t loose any colour. Normally with darker colours like black and dark blue it can happen, But this time nothing was seen in the water.

Now i´m back to knitting a cardigan (also a vintage pattern) and a jumper for myself. But i don´t think i will finish them this year.

I wish you all happy holidays, a relaxing time and a loving family. And for those, who don´t have those things : You are not alone even if it seems like you are. There will be happier times some day…

Thank you for reading, till next time!

It´s a vest, It´s a vest, made from real….

(Sorry for the pun in the title, some might get it and some don´t…but it is constantly in my head)

This month i didn´t finish a lot (still haven´t started on Christmas Knitting…but this year it is only a pair of mittens). But i did draft (or started) some new patterns, which need to be tested. And i made a bag from two pairs of old jeans. Which came out quite nice.

But first my knitting project, which i started at the end of October and finished on November 8th. The pattern is called Sleeveless Pullover, i would call it a vest (well in german we call it “Pullunder”), by Jack Frost. It is a free vintage pattern from 1951. You can get it on Ravelry, or if you don´t like Ravelry you can also get it HERE.

The yarn was the same i mentioned in my last post (and probably will mention in my next post, because right now i´m knitting mittens with it). For that vest, the yarn was perfect, that´s why i´m sure this yarn is not really a DK weight but an Worsted weight yarn. As usually i didn´t make a gauge/yarn swatch, because i never do that and most times i´m lucky…(don´t be like me, swatches are important!).

And it was quite an easy and fast knit. The front and the back are the same except the neckline, which was a first for me because i never ever tried to knit a v-neck.
The funny thing with vintage patterns (or patterns in general actually), if i “find” a mistake, i´m never sure if it is a mistake in the pattern or i did something wrong. With this pattern, i think it was in the pattern. When you are in the front – casting off sts for shoulder shaping it says = 6 sts every other row 4 times. You start with 28 sts for the first side. Knit 2 together – 27 sts. Than dec 1 sts every 4 rows 10 times – 17. I only was able to cast off 6 sts 2 times and 5 sts one time. Weirdly enough i think in the back there were enough sts.
I also tried to make the neck band three times (Instruction: taking up 57 -1 -57 sts), i couldn´t manage it, there were too many sts in my opinion,in the end i managed it with about 45/47 sts ( i was so frustrated, i didn´t write it down.)

This is the back…it looks amazing. The pattern is not a cable pattern just a variation of purl and knit stitches!
And this is the finished vest from the front.

It is cozy and it fits very nicely!
As i mentioned in my last blog post, i wasn´t (and i´m still not) really sure about the hat i knitted. I probably won´t wear it , but i don´t want to frog it as well…which is a stupid situation. I´m now knitting some easy mittens (also a vintage pattern) and then i won´t have much left of the yarn for anything else. Which is quite a nice feeling to have finally knit up (nearly) everything of that huge ball of yarn.

Did you ever have had a project where you weren´t really sure, if you should frog it or leave it?
Thanks for reading and have a nice beginning of the last month of the year (oh god)!
(The upcycle bag will get its own blog post…)

Winter Knitting….and more

I know i didn´t post in a long time, but those last two months have been a bit stressful. First of all, one of my cats had an huge accident. We still don´t know what happened exactly, but somebody drove over her with a car…
There have been a lot of days of worrying, that she might die and the caring and recovery took some weeks, BUT she is alive and well, thankfully. Weirdly in those times you met a lot of people, who say instead of paying for an operation you should have put her to sleep, because “there are so many cats around”. Mildly put, i´m disgusted by those comments and views. For me, my pets are part of my family and i have to care for them.

Secondly, it is autumn now, and we have a lot of pear and apple trees, which fruits want to be harvested. And the garden needs to be in order before winter comes around…there is/was a lot to do. I was still able to knit and sew some things, but i had hardly any time to write about it (nor had i a lot of motivation to do so.)

After finishing some big birthday knit for my mother (someday i will post about it), i started knitting for winter season. I needed some cozy hat, a cowl and some new mittens or fingerless gloves. I already finished the hat (i´m not quite sure about it) and the cowl, which i really like.

I had this yarn in my stash, which i bought last year i think. It is called “Schnellstrickgarn Mia” and it is from KiK. It is on the cheaper side and it is not as soft as some of the modern acrylics i have worked with before, but not as bad as they used to be. Because of the stitches given on the banderole you need for 10 cm (22 sts x 30 rows), I would categorize it as DK weight yarn and this point is one of the things i´m still a bit annoyed(?) with in knitting. It is a tiny bit thicker as most DK weight yarns i have used, but it is not actually a “real” worsted. On the other hand, i recently knitted with a yarn from Schachenmayr, which was thinner than this one, but with 19 sts x 26 rows, i would have categorized it as worsted weight. So confusing!

Well, but back to my main point. I thought it would be nice for a hat. So i chose an easy project, the “Three by Three Hat by Galzanne Knits. (Which is free on Ravelry : https://www.ravelry.com/patterns/library/three-by-three-hat)
And it was an easy project! It only took me a few hours distributed over two days to start and finish it. But i´m not sure with the end result. Because the yarn is a bit thicker than DK, the hat got a bit more voluminous than i thought. I mean, it is surely warm and that is great for winter, but i don´t know if it is not too much for my head…if you know what i mean.

The Cowl, which is the Bynx Cowl by Hayley Quinn (also a free pattern), on the other hand has the perfect size for my taste. Not to tight and not to loose. It took me a few days longer than the hat, but you could easily knit it faster than me. The cable repeating is quite easy, but don´t knit when you are sleepy…of course i made one mistake while knitting the bigger cables. It is hardly noticeable, so i didn´t go back.

For the mittens/ fingerless gloves, i don´t have a pattern yet.
What are you knitting for winter? Any favourite patterns or don´t you need anything because you have enough winter knitwear or you don´t have winter at all?

Thank you for reading and i hope you have/ had a nice weekend!
Till next time.

How to sew a Tie Belt

Yes, you read that right, sewing is (kinda) back! Last week i finished a bathrobe for a customer, and she wanted to have a Tie Belt with Belt Loops for the closure. So i thought, why not show you how i do it.
And as always, there is no right or wrong, there are so many different ways to make things and everyone of them is legit.

Tie Belts and Belts in general are just long rectangles, (sometimes one long rectangle, sometimes two). You get the length by adding extra allowance to your waist circumference (for tying the knot or a bow, or for the overlapping at a belt with a buckle). In Short: Waist Circumference + 15-20 cm = Belt with a buckle, Waist Circumference + 40-60 cm = Tie Belt. Don´t forget to add seam allowances.
If you want an extra large Bow add more (you can cut it off later, if it is to long).

If you have a thin or medium weight fabric the pattern piece is one long rectangle. If your fabric is very thick, for example a wool for a winter coat, the pattern pieces are two long rectangles. One piece for the wool and one for the lining fabric. Most times thicker fabrics will be lined with thinner ones, which makes it easier to sew and in the end tie them.

Your belt can be as wide or narrow as you want it to be. I wanted a belt that is 4 cm wide in the end. So i doubled that plus seam allowance = 10 cm. In the end i got a rectangle with 140 cm x 10 cm. (If you have a fabric that frays like crazy, serge your edges with an overlocker or sew them with a zigzag-stitch – i prefer an overlocker.)

The photo quality is as bad as always…i´m sorry.

There are two different ways to sew a tie belt. For both the first steps are the same.
For Belts with Buckles or other closures you normally add interfacing or a strong woven ribbon in between to make it much stiffer. But with Tie Belt it is the opposite. You don´t add interfacing because it would make the knot look to bulky and weird. (Although, if you want a bow that stands out this could be an option).

Step one ist to fold your rectangle so that your right sides (the nicer side of your fabric) are facing each other and pin the long edge down.
Step two is to sew the long edge, leaving a 10-15 cm long opening (for turning the belt inside out) in the middle of the rectangle.

Step 2

Now it is time to decide which look you want for your belt (or how much work you want to do). As i said there are two different ways. The first option is to have that seam you just made, as the top or lower edge of your belt. The second option, this is what i made, is to have the seam in the middle of your belt, but on the side that shows in the direction of your body. You could say, from the outside it is “invisible”.
If you want to topstitch your belt, the first option is the way to go. But if you don´t want to topstitch and to have a smoother look, the second option is the one for you. (Which doesn´t mean you can´t use a topstitch with the second option, but if you already plan on topstitching, option one already saves you some work.)
With the first option you have to be careful with pressing it really nicely before topstitching it.

Step 3 (with the second option) is to press the seam open. I like to press everything flat right after sewing, so i know where the middle is and then i can lay the seam above it.

Step 3

Step 4 is to close the short edges (the endings). You can make the endings straight, pointed or rounded, as you want. I chose the easiest one – the straight one. Decrease your stitch length on your sewing machine – this gives a bit more durability. I had stitch length 2,5 mm for the other seams and 2.0 for the endings.

Step 5 – Turn the belt right side out. This works with long knitting needles or any other long stick, some use a cooking spoon, i have a long metal stick especially for this. If you have problems with the corners, use a pin and carefully pick your sewed stitches up and pull at them.

Step 4
Step 5
After step 5.

Step 6 – Press the Belt flat and close the opening with a ladder stitch.

And your Tie Belt is finished.

Now for a Belt to work properly, you need to have Belt Loops. But this is for the next post. I promise it will be short. And then you will see the finished bathrobe.

Thank you for reading, till next time.