I looked at my last blog posts and they were all about knitting, which is weird because i´m mainly a sewist. Well it is just that knitting, at the moment (for the last year or two), really calmed me down. But this blog is actually about sewing! I´m working on sewing patterns, yes…but i´m in a kind of rut. I have plans and i am still making some projects, but most of the time i don´t want to take pictures of them or they take weirdly a long, long time to finish.
The last few months i made some Knitting Project and Notion Bags, which are available in my Etsy store. https://www.etsy.com/de/shop/SewingforyourLife I´m planning on making some Patterns/Tutorials as an E-Book about them. And someday i will finish those E-Books and get them online.
For the beginning, i have two kinds of bags. One i call semicircle bag and the other is a zipper pouch. Both come in different sizes, but not always in the same fabric, because i make my bags from upcycled material. There is so much fabric in Second Hand Stores or even leftovers when i alter curtains or other things for customers, if i wouldn´t make something useful out of it, it would be thrown away. And i think that is an absolut waste of fabric. I somethimes even use clothes like jeans or other materials.
Here are some of my semicircle bags, made out of leftovers from upholstery fabric. Available in three different sizes. The XS ones are great for notions or small crochet projects. The small ones are great for a sock project (i have my current sock project in one of those bags). The Medium have place for projects which are bigger than a sock but not big enough like a sweater or something.
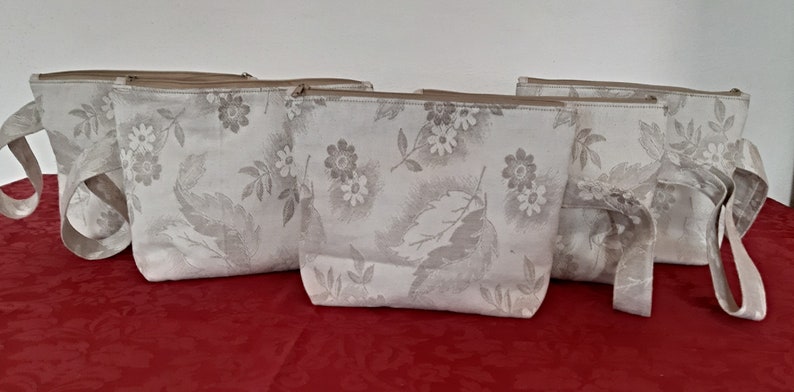
This zipper pouch comes (at the moment) in one size, in two different shades (this one is the darker beige but there is also a lighter beige in the shop) and with handles or without.
If you follow me on Tumblr (Sewingforyourlife) you know that in the last few days ( yes this blog post is actually is really currently) i sewed myself some straight legged trousers. I had some nice blue viscose in my stash, which is wonderful to survive a heat wave. I still have some leftover (about 3 meters) so there will be something else coming in the future, but i just don´t know what.
I altered my Palazzo Pants pattern (which you can get in my Etsy-Shop – and soon in my Kofi-Shop). Link to Pattern.
I just folded away the pleat in the middle of the pattern pieces (a bit conical), measured the hip and added what was missing. Quite easy.
Cutting the fabric wasn´t that much fun, but i managed to get some reasonably straight cutting lines. The sewing process was similar to the Palazzo Pants, so it was literally a no brainer.
Here is my pattern and the fabric.
And the finished trousers!
Nice to wear, feels really soft on my skin and most importantly keeps you cool…i love it.
I know, it is a short blog post. But i didn´t want to take any pictures, i was more in the mood of “just sewing”.
Thanks for reading, till next time! (I still have to write a few blog post about some old projects)
Again i have been dipping my toes into Hatmaking/ Millinery. This time trying to make a Fascinator (Spoiler: Sucessfully!). I did some research on youtube (there are many hatmaking and millinery videos…just enter some keywords), pinterest and in general on google. I found out, that for a beginner it is not necessary to have a Block for blocking hats (mostly made out of wood), and if you like hatmaking you can make one yourself out of styropor.
You can use bowls, plates or other sturdy surfaces to “block” your hat. Most tutorials suggest that you use buckram (or any other sturdy non-fusible interfacing or very stiff but not too heavy linen – in german we would call it “Schrabackeneinlage” or “Steifleinen”), and a water soluble stiffener. You can use nearly every fabric you want – at least that is what i found out till now. Stiffeners can also be made from things you have at home like corn starch or textil glue…there are some differences in looks and end results, but that is another topic for future experiments.
I made my own teardrop-shaped Pattern, which you can download below. I used some boiled wool, some wire (the same i used in my past experiments), textil glue mixed with water as stiffener, felt tape for the edge(s), my head form for “blocking”, transparent foil/plastic wrap (?), decorations, hair clips and thread.
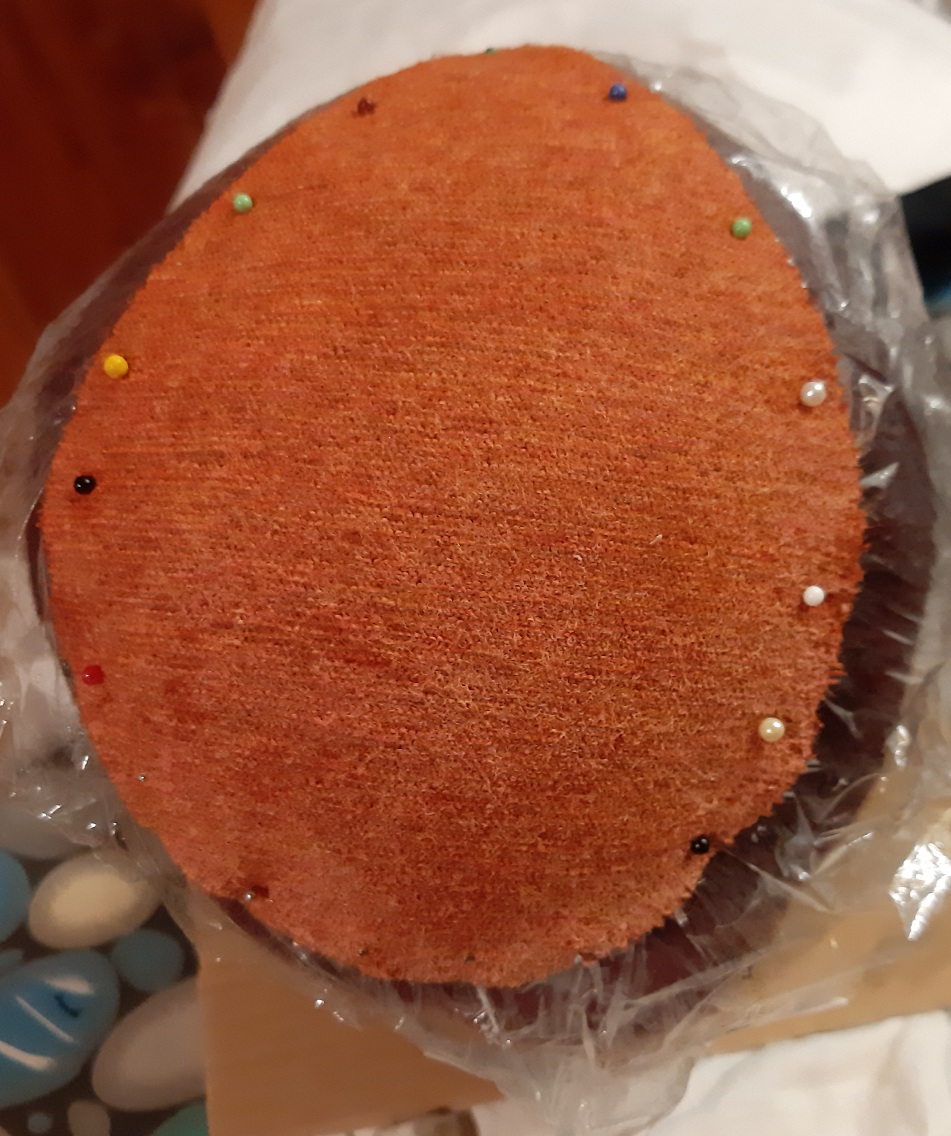
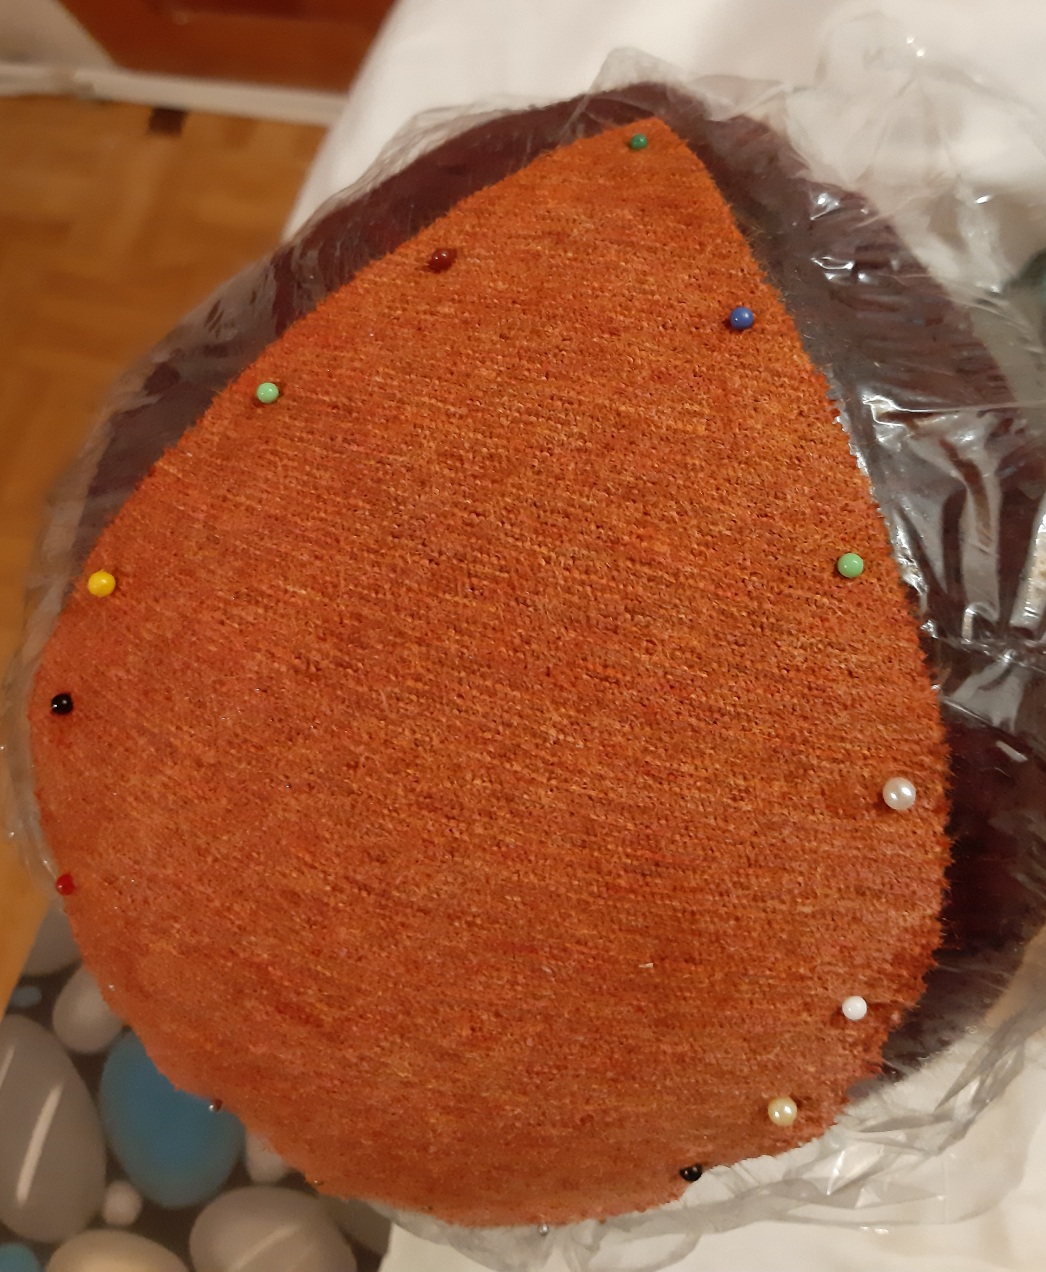
I started cutting out the pattern twice from the boiled wool and put some plastic wrap over my head form. I wet the two pattern pieces and mixed the glue with water to get a stiffener. My glue is a standard textil glue, but i think i made it a bit too thin. Make sure to apply the stiffener on the non-visible sides of the boiled wool. Textil glue tends to ligthen the fabric a bit (residues). I placed one wet pattern piece onto the “block” (in my case, my head form), spread half of the stiffener onto it, took the other wet pattern piece in my hand (if you are sensitive use some gloves) and spread the other half of the stiffener onto that. I carefully put the second pattern piece onto the first, pinned it at the edges and let it dry over night.
You can see, that it is indeed a bit wet. But that is okay.
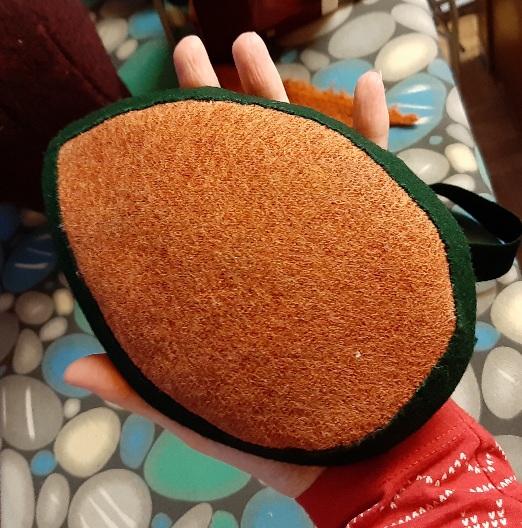
I was really impressed how good the stiffener worked, because before i thought that i should have used some interfacing. The wool is still movable (i don´t know how to describe that better), but it works for a fascinator in that size. If it gets bigger, there should definitely be some interfacing between the two layers.
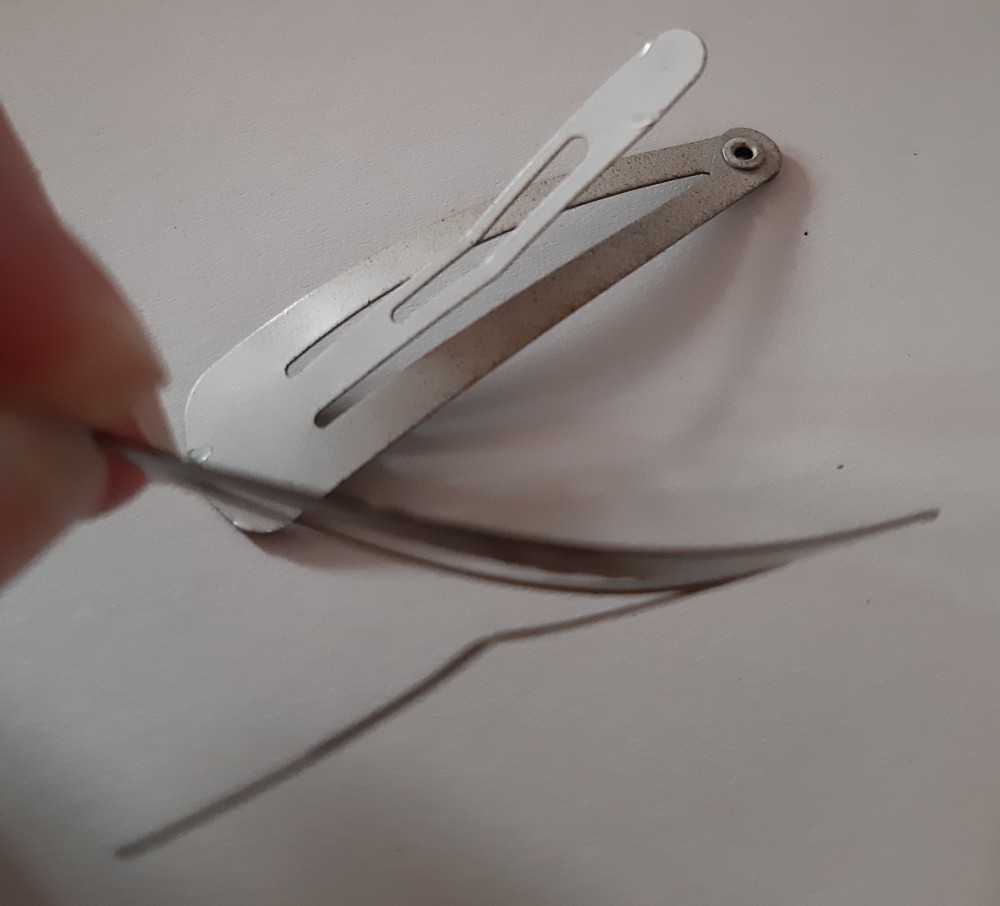
I hand-sewed some wire around the edges with some heavier thread and hand-sewed the green felt tape around it. I didn´t take any pitures, because i wasn´t sure that it would work out. The wire helped with shaping the fascinator a bit more, which is nice, because i can adjust it exactly to my head.
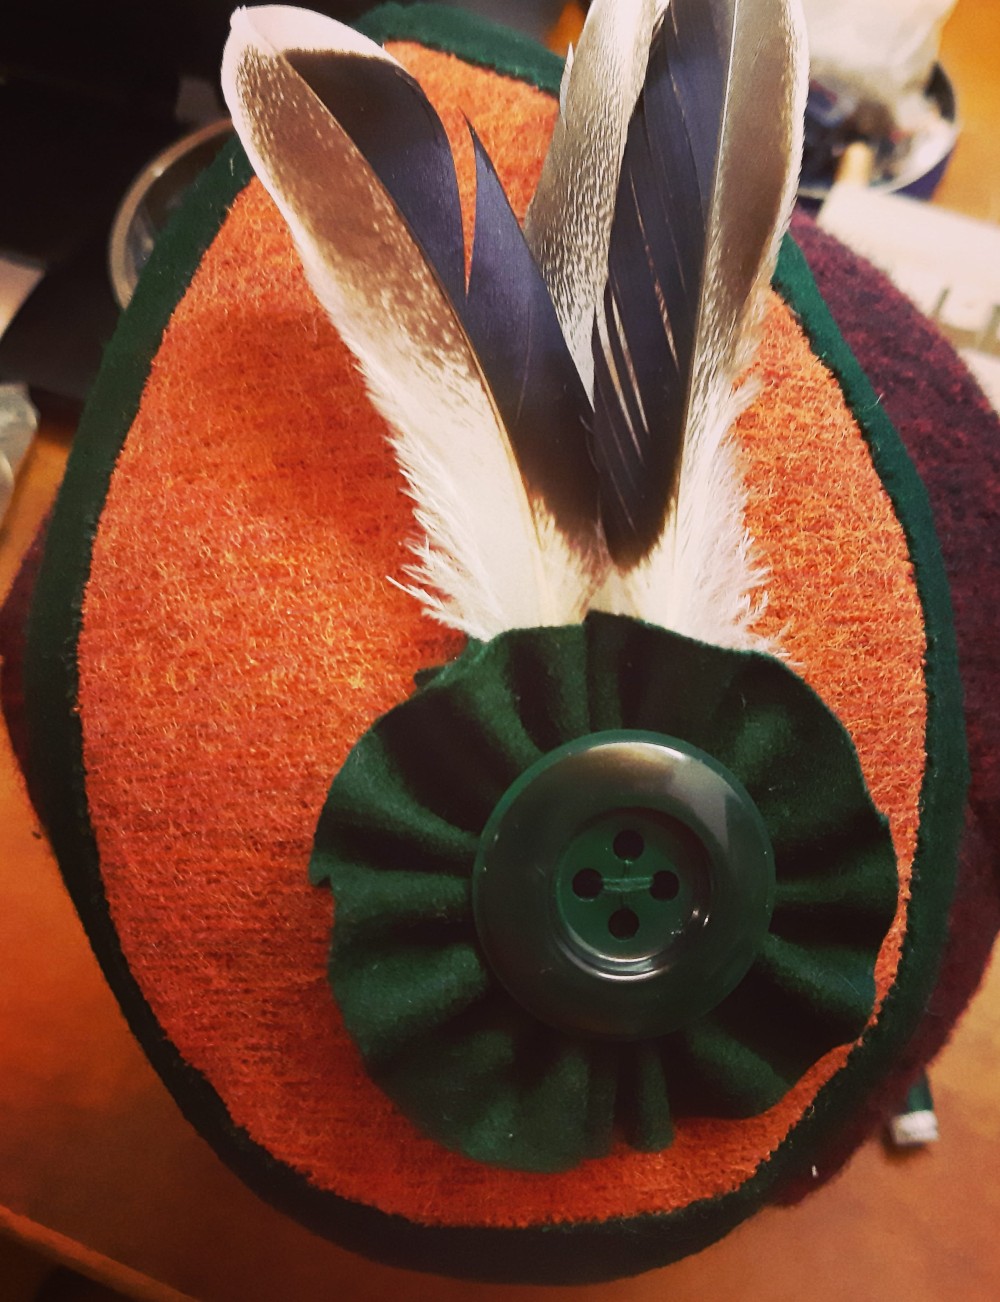
For decorations i just used some felt tape and gathered into a flower, some feathers my grandmas ducks lost last year and a green button. (Feathers are easier to sew through and on, than i thought!)
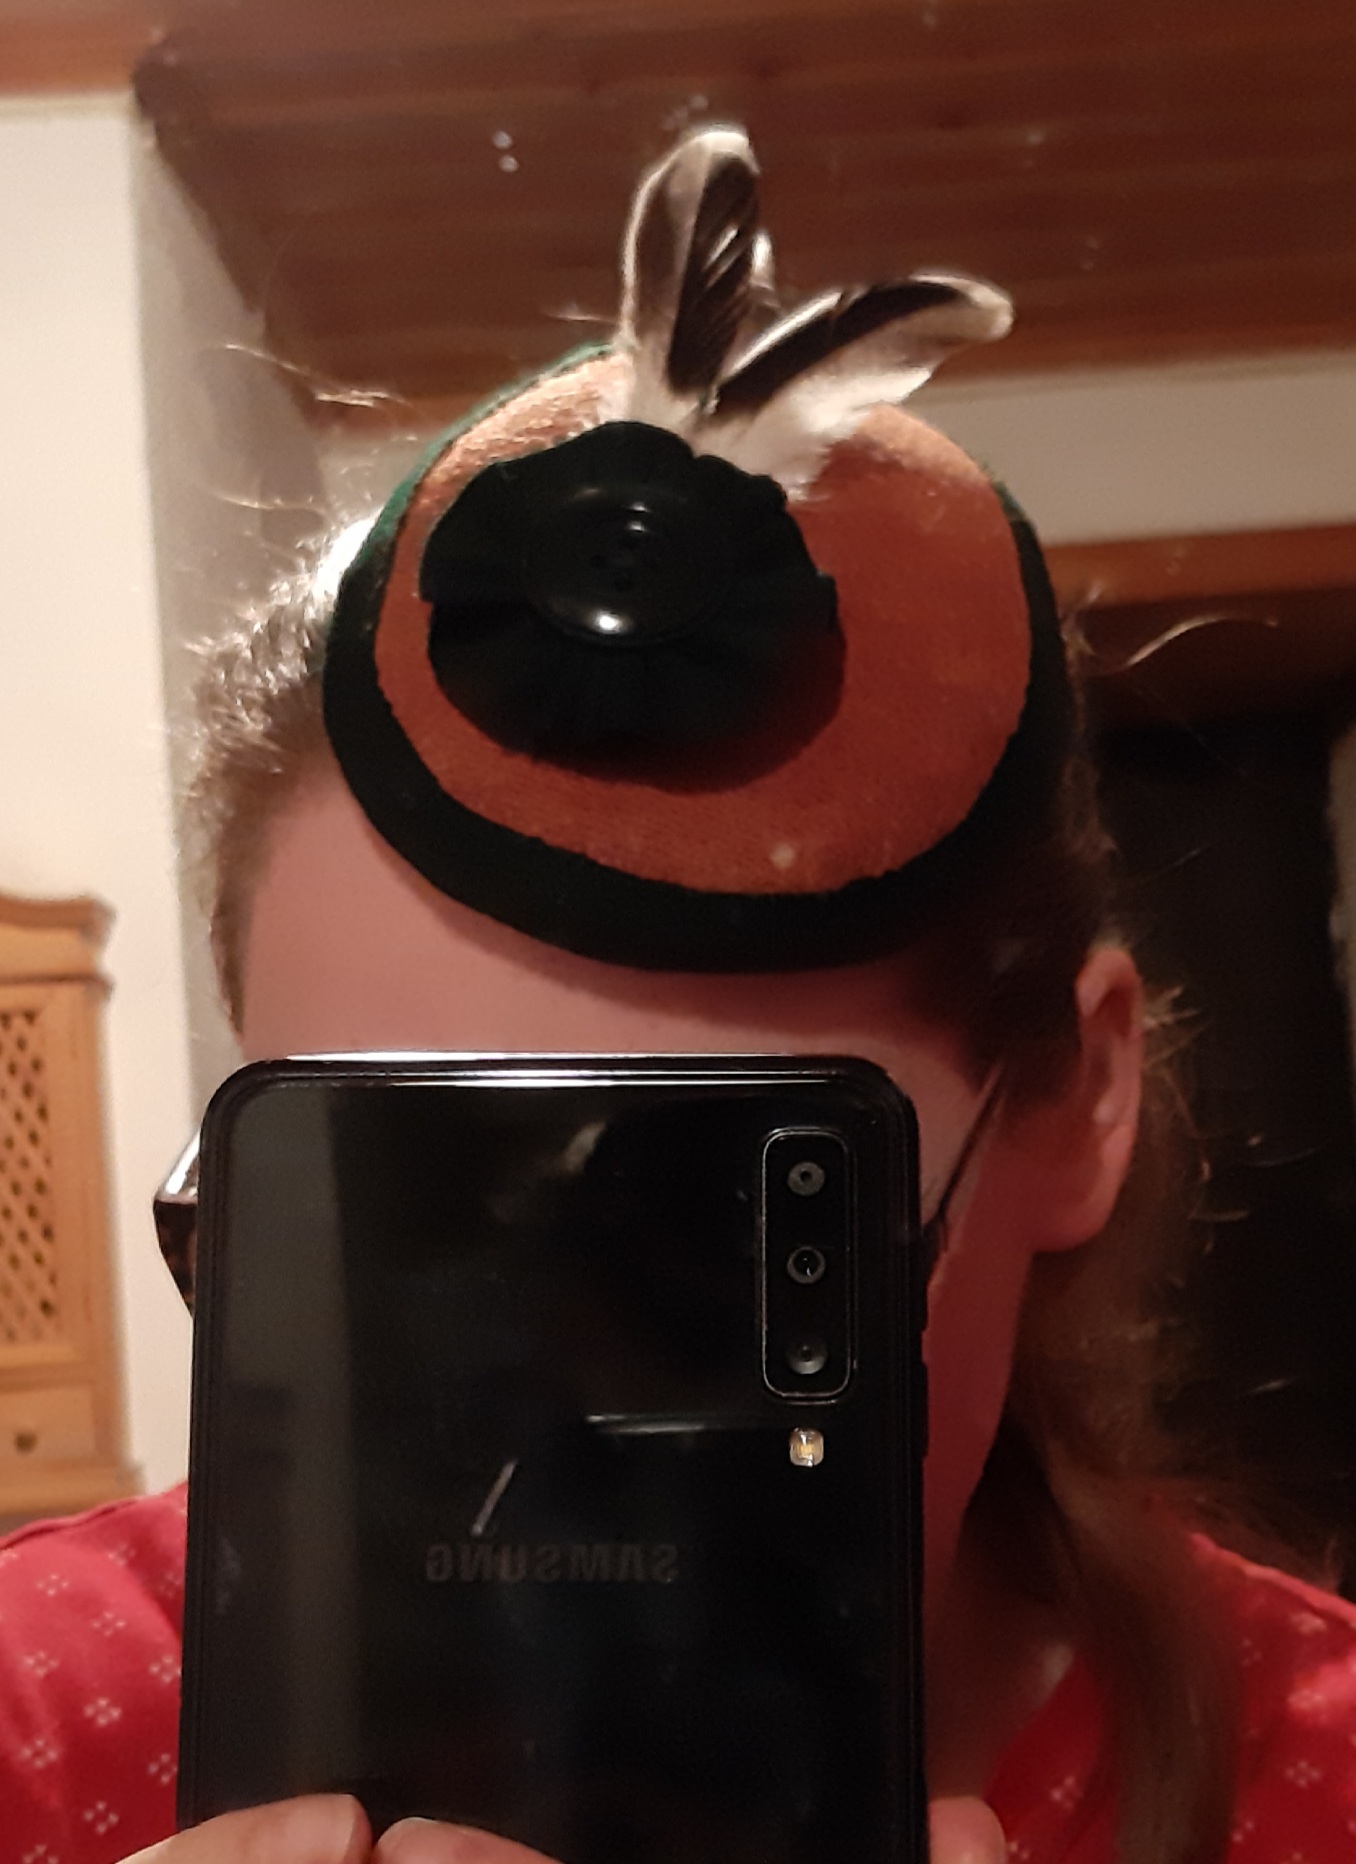
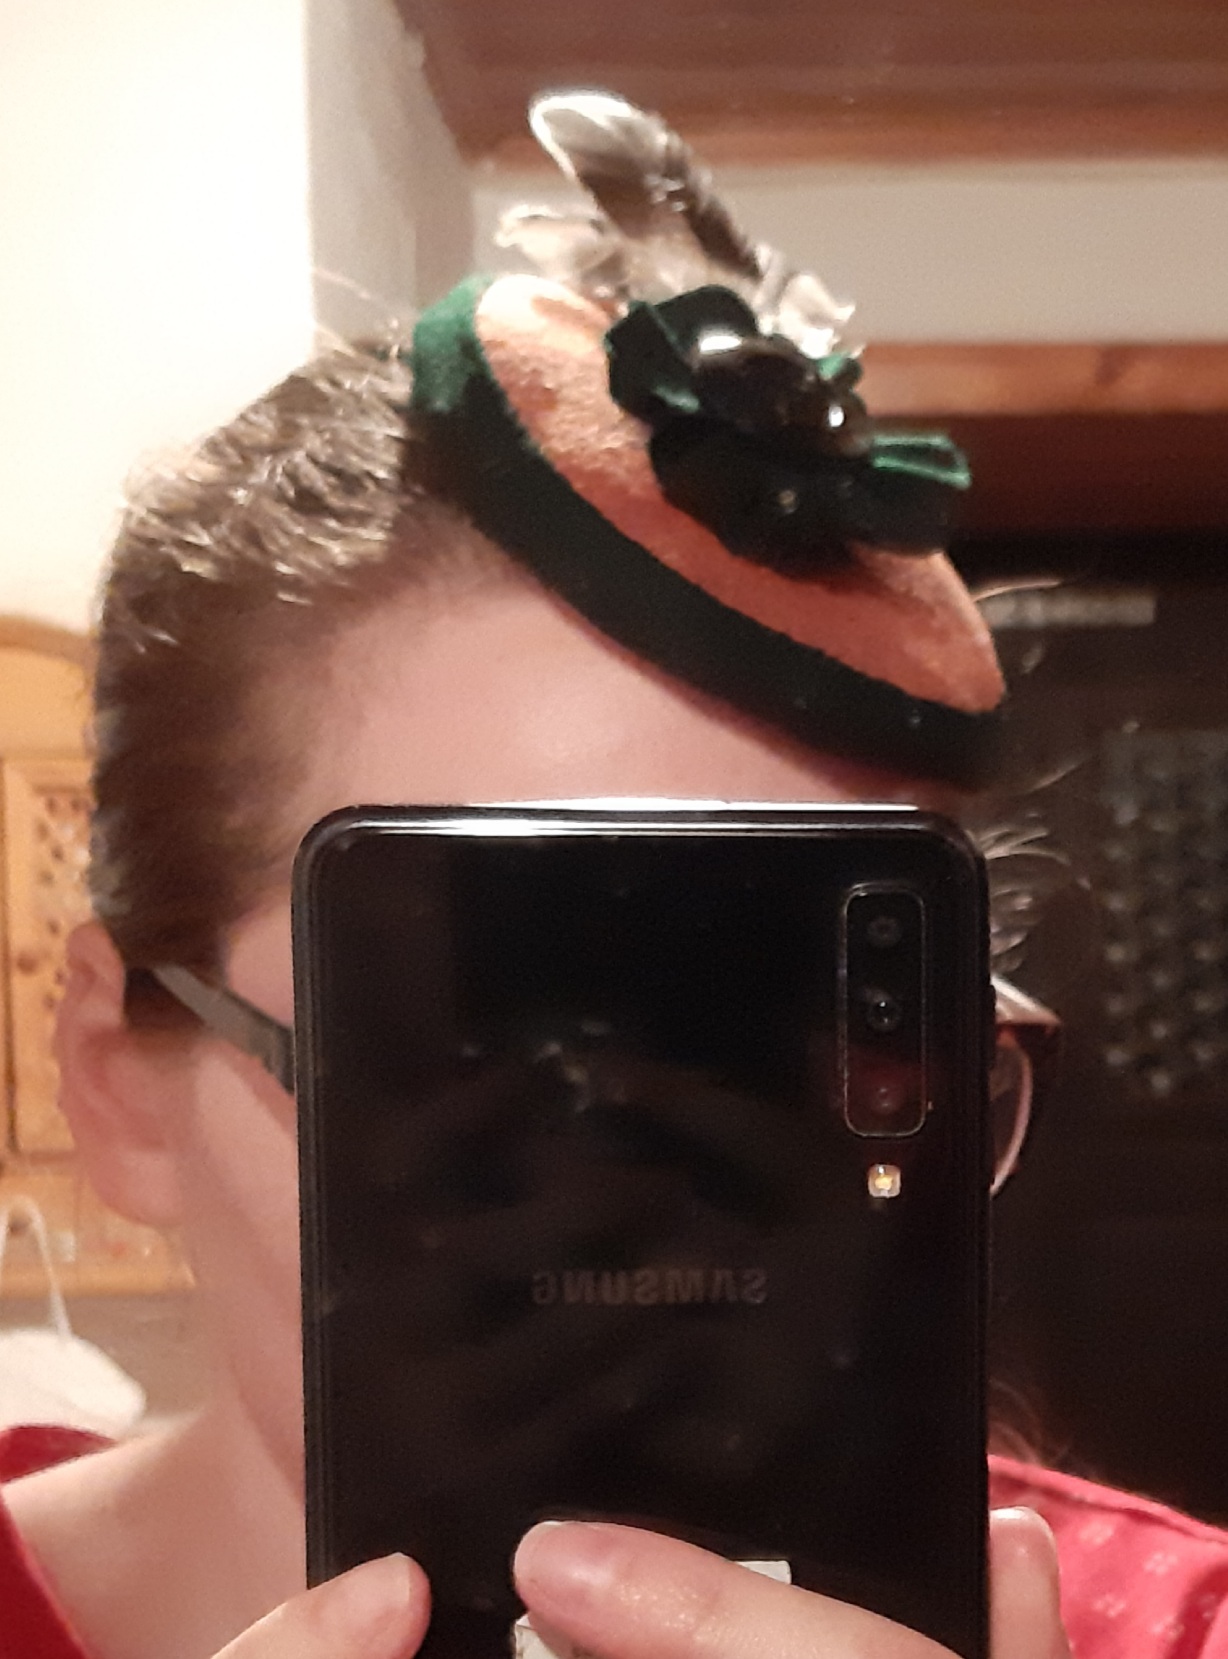
Ignore my fuzzy-head…
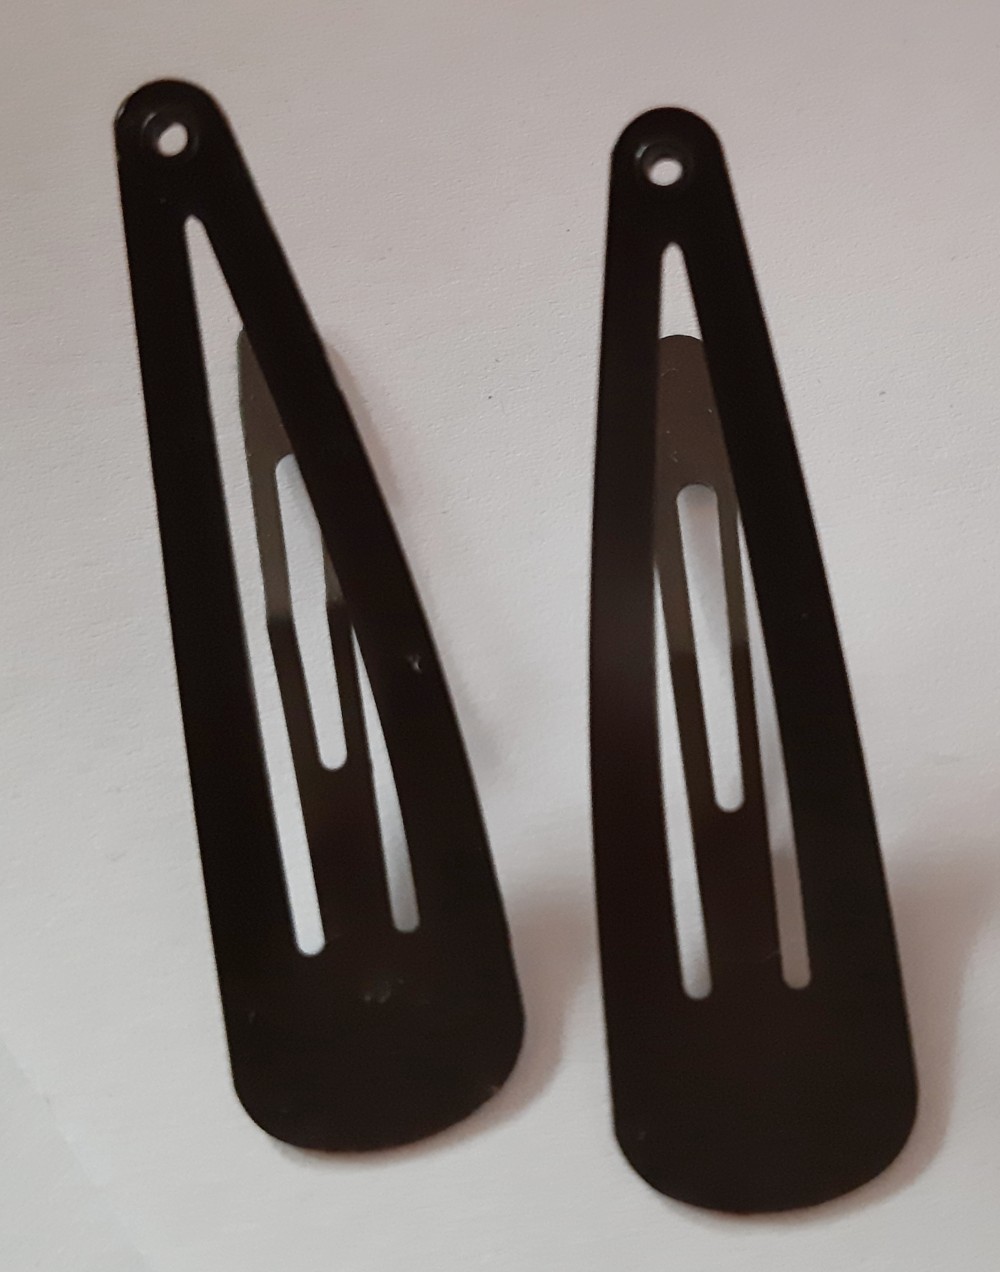
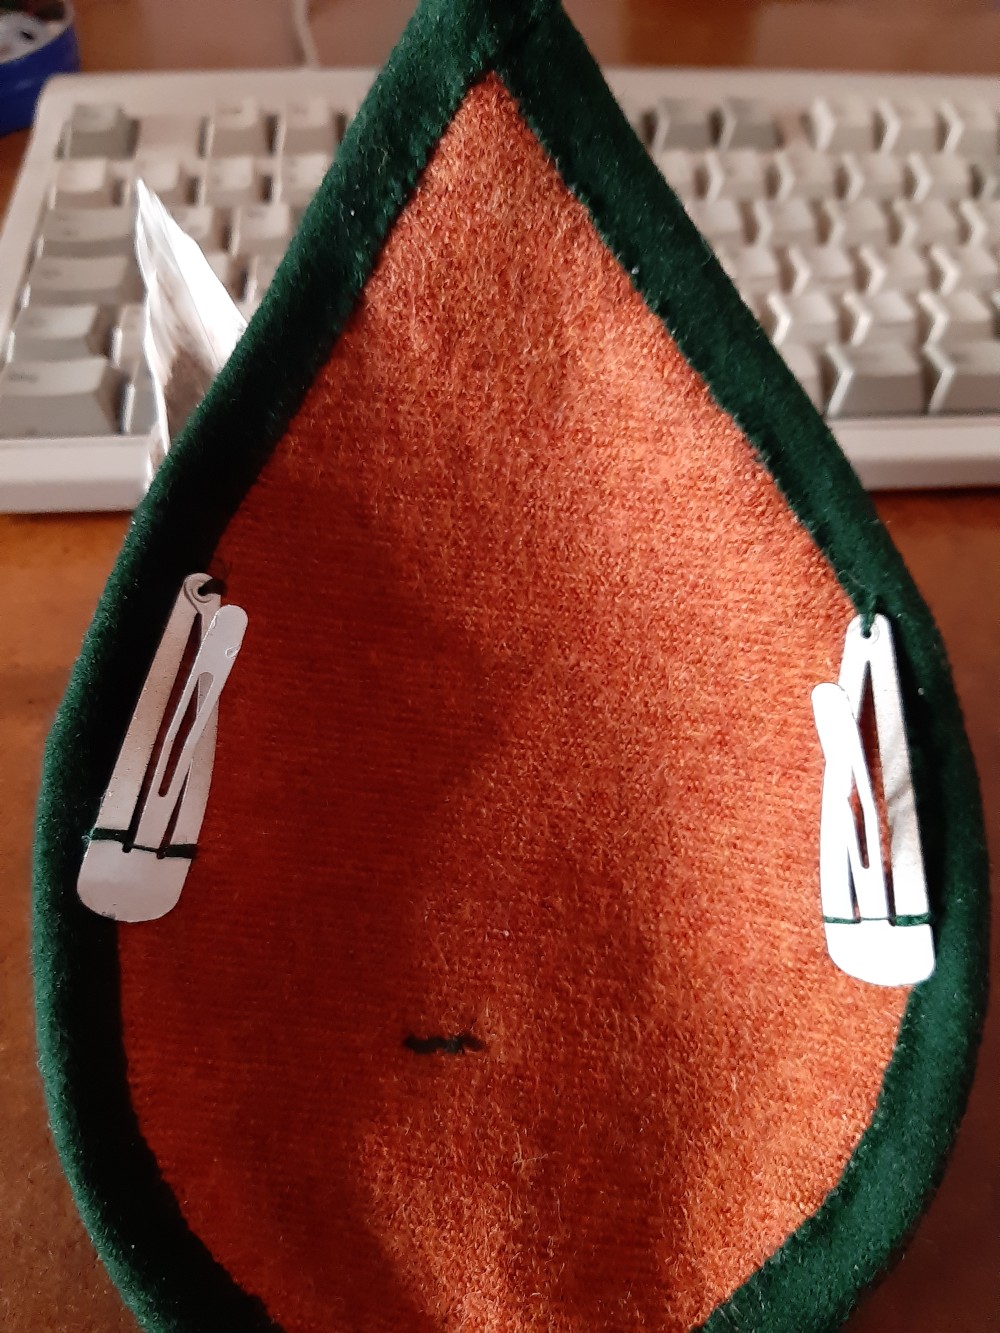
The pictures above were made before i added the hair clips. So, i´m only balancing the fascinator on top of my head. I wanted to get some other hairclips, but i only could find the “usual” ones.
They are fine, but once i get my hands on something better, they will be replaced. I sewed one of them on each side. Trying the right placement of them beforehand.
And the hat was finished. All in all, it took me just a day (counting over night) to finish it. It was easier than i thought (that is a sentence i use so much, because i always think everything is complicated and work-intense).
Here you have the free Pattern. Please print it in actual size and measure the Control Box (5×5 cm). If you make something using my patterns (free or commercial) please send me pictures. I´m always interested in the creations of others. And if you have a suggestion for improvement or any other feedback, please let me know. I´m always keen on learing more and more. The Pattern is in A4-Format.
I needed a kind of storage box or anything for my two hats, that i made last year, so they wouldn´t get very dusty. (I don´t wear them that often…well if you remember the hats you would guess why.) Here are the links to my two hats, for those who are new here and for those who can´t remember, because it is long ago since i tried my hand at millinery…(but soon again!).
I didn´t want anything ordinary, so i searched pinterest and found a picture of a Bonnet Bag. I really liked the idea of it and made my own pattern, which than i had to improve/ change a bit…but in the end it worked out. If you want to make a bonnet bag as well, my pattern is at the end of this blog post – free to download. But please, i would love to see your creations, so send me pictures!
The pattern consist of the Bottom and the Side (rectangle). I drafted it for three different sizes. Size Small 33×39 cm, Size Medium 43x49cm and Size Large 53×59 cm. All Pattern pieces are without seam allowance!
The Original is from the mid-19th century and is made out of twill, a stiffened bottom with strips of wood and hoops up the sides, as well as drawstrings at the top.
For my Bonnet Bag, i used some left-over linen jacquard i had laying around. (Which in the end proved a bit too thick for this bag, so you would be better off, if you use some light material.) Some plastic boning for the bottom, Wire for the hoops and cotton tape for the drawstring. I also finished every seam allowance with bias tape, but that is not necessary. I planned to insert three hoops, but ended up with just two of them. I´m also planning on replacing the drawstings with something more sturdy, like a cord. You see, there were a lot of improvements. You can only find things out, if you start and experiment.
I made a little sketch, which helped me to plan everything.
The pattern piece for the bottom was made (only for the smallest size) and the fabric pre-washed and ironed.
I cut out the bottom piece twice from the fabric and twice from the interfacing i had. The stiffer the facing the stiffer will be the bottom. I only had medium weight interfacing at home, but it worked out as well. I ironed the interfacing on the wrong side of the fabric and let it cool out.
I stiffened one of the circles even more by stitching on some boning channels onto the wrong side of the fabric (the right side will be outside) and added some boning. The tape i used here was something i found in my stash, it is normally used for the hem of mans trousers. (in german we call it: Hosenstoßband). If i find the proper english term for it, i will let you know! Make sure that you leave the seam allowance without boning or else you can´t see the circles together properly.
As you can see in this picture, i first stitched down the boning channels on three sides, leaving the “bottom” open. My plastic boning is about 0,8 cm wide. So if yours is wider make sure to use wider boning channels!
I put the second circle onto the first and stitched them together. I used this side as the outside of the bonnet bag, because i didn´t want the stitching of the boning to be visible. But you can use the other side as well.
I finished the edge with bias tape (which didn´t match with the colour, but no-one will see it.)
After that the bottom was finished. I then cut out the rectangles aka the sides. Don´t forget to add seam allowance on every side.
First i finished every edge with bias tape. It does look nice, but serged edges would have made it easier to insert the wire/hoops. But i managed in the end.
I have to admit, it was a little bit thick. But my sewing machine stoicly went through it. It would be easier to just serge the upper edge, iron the seam allowance/tunnel and then finish the side seams with bias tape (or just serge everything…in the end nobody will see it). Stitch the tunnel down, so the finished edges are on the inside of the bag.
After that, close one of the side seams and pin the markings for the placement of the hoops on top of each other. Leave some cm/inches open at the beginning and the end. Here you can decide if you want the hoop tunnels to be visible (on the outside) or “invisible” (on the inside). I wanted my bonnet bag to look like the original, so mine are on the outside.
Outside and stitched.
Inside and stitched.
Outside and finished.
Now it is time to close the other side seam and sew the “bag” to the bottom (circle).
After sewing everything together it is time to insert the hoops. I didn´t take pictures of mine, because they were totally McGuyver-ish. For one hoop, i cut off two strings of wire (a bit more than the circumference of the bag) and glued them together with duct tape. I also glued some duct tape onto the ends, because this makes it easier to insert the wire. After inserting them into the tunnels, i again glued them together with duct tape and closed the opening – you can do this by hand or with your sewing machine. Normally you would use real hoop wire, but i hadn´t any and didn´t want to buy some.
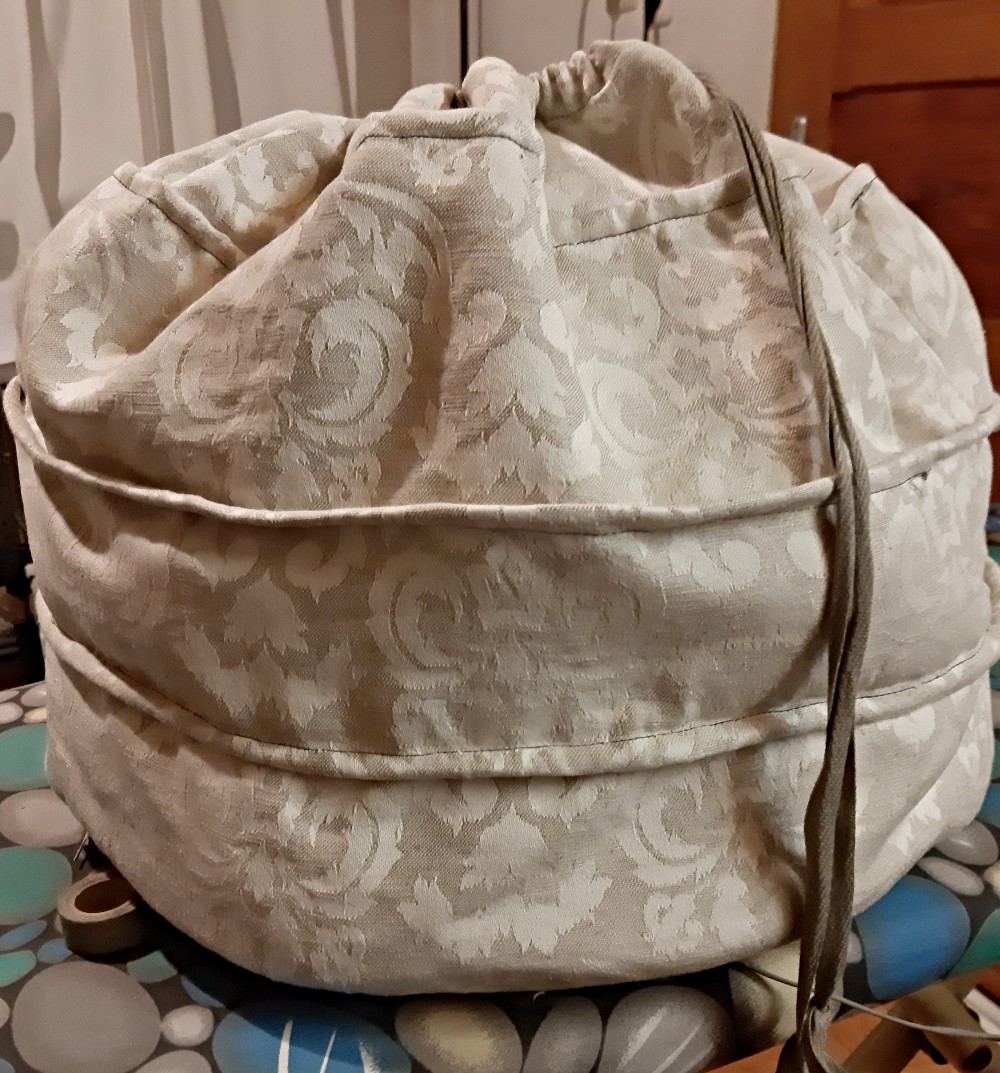
As i mentioned above, i planned to have three hoop tunnels, but i realized i couldn´t close the bag properly. So i skipped it. I am able to close it better than before, but not completely. I think i should have used a thinner fabric. But well…making mistakes and learning from them.
Here is the finished Bonnet Bag. I think it looks nice.
And here is my Pattern for you, free to download. Once in A4-Format and once in Letter. Please ignore the rectangle around the Bottom Pattern Piece, i had to construct it this way or else i wouldn´t have been able to convert it to PDF. ( i hope the Files are working!)
EDIT: I was able to reduce the size of the files, so you don´t need to print too many sheets!